4Crawlin Build Thread
Possibly... Im not sure yet. By laying box tube against the bottom of the body, it will help distibute the forces into the body structure as well as the frame when a hard hit is taken. Every set of sliders I have seen used hard, always end up hitting the body at some point, its just too much leverage for the frame to handle.
Last edited by chevycrew on Tue Dec 27, 2011 6:25 pm, edited 1 time in total.
-

chevycrew - Veteran
- Posts: 1088
- Joined: Tue Mar 08, 2011 2:42 pm
- Location: UT, Salt Lake City
- Name: Steve
- Vehicle Year: 2002
- Vehicle: Chevrolet TrailBlazer
- DriveTrain: 4WD
- Rank: Trail Ready
Good lord you must be heavy a truck. I've taken 10-12" drops onto my sliders and other than a couple dings they are fine.
I own too many vehicles now. Let's leave it at that.
The old Trailblazer - Build
The old Trailblazer - Build
-

fishsticks - Moderator
- Posts: 4358
- Joined: Thu Apr 01, 2010 11:30 pm
- Location: WA, Castle Rock
- Name: Donny
- Vehicle Year: Other
- Vehicle: Other Vehicle
- DriveTrain: 4WD w/ Aftermarket Locker
- Rank: Extreme Offroader
I think Im around 5700lbs
-
chevycrew - Veteran
- Posts: 1088
- Joined: Tue Mar 08, 2011 2:42 pm
- Location: UT, Salt Lake City
- Name: Steve
- Vehicle Year: 2002
- Vehicle: Chevrolet TrailBlazer
- DriveTrain: 4WD
- Rank: Trail Ready
chevycrew wrote:Possibly... Im not sure yet. By laying box tube against the bottom of the body, it will help distibute the forces into the body structure as well as the frame when a hard hit is taken. Every set of sliders I have seen used hard, always end up hitting the body at some point, its just too much leverage for the frame to handle.
I think that's a solid plan. We essentially did that with mine, but without the box tube. We just put the inside tube against the rocker panel.
Not that I do anything remotely near as crazy.
-

Trail X - Founder
- Posts: 9925
- Joined: Mon Sep 07, 2009 10:22 pm
- Location: VA, Roanoke
- Name: James Downing
- Vehicle Year: 2005
- Vehicle: Chevrolet TrailBlazer
- DriveTrain: 4WD w/ Aftermarket Locker
- Rank: Expedition Guide
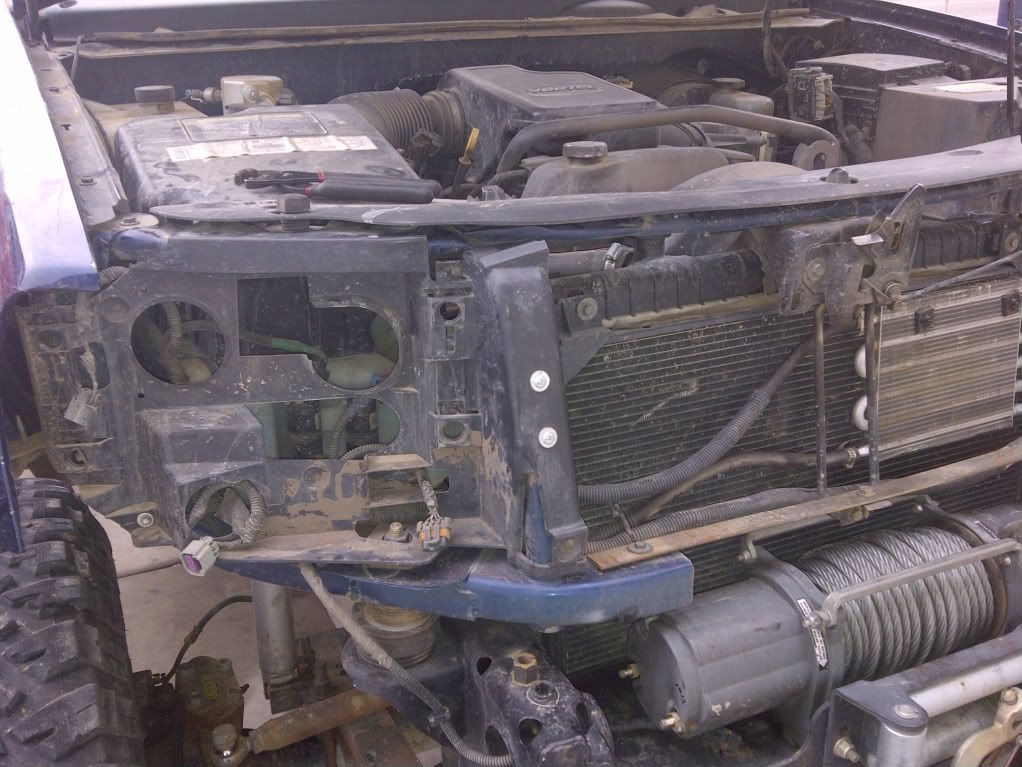
So I have been deciding what to do with the nose. Broken header panel, and grille has created some thoughts. I also want to open up the front for more airflow.
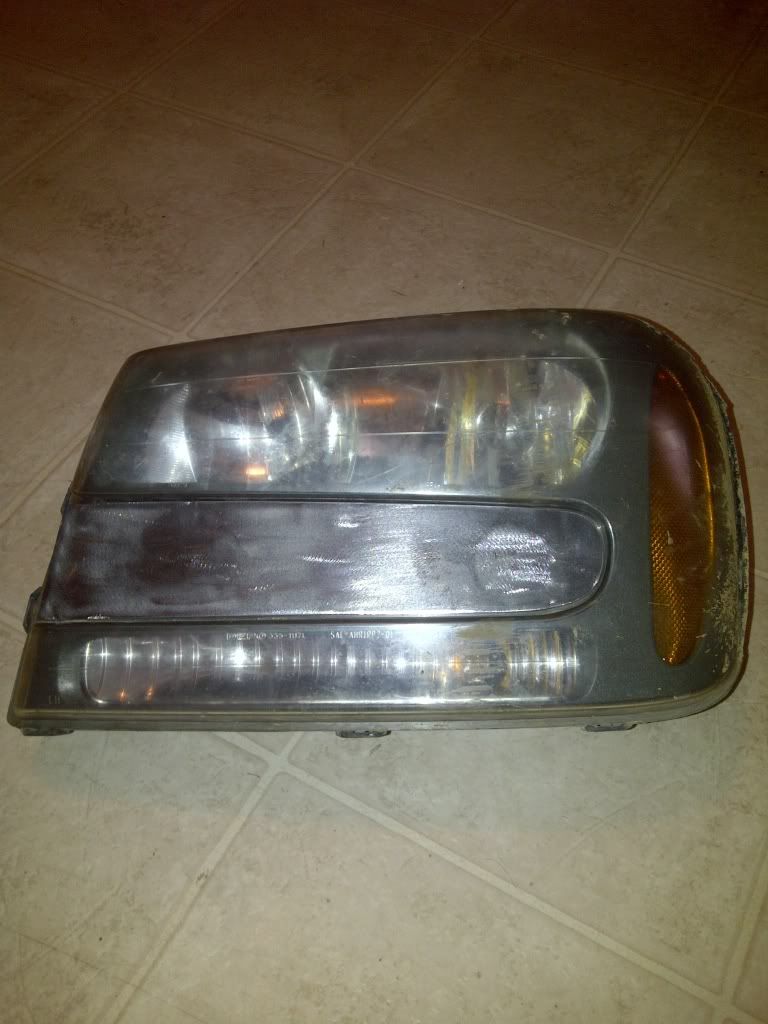
So I chopped the good side of the header panel off and mounted it back, (when the new panel arrives I'll do the same for the drivers side) This allows a bunch of plastic in front of the radiator to go away. Then without the grille bar the headlights are ugly! So, filler panels made, and will be painted black. Last will be a new expanded metal grill, painted silver, with a black painted center bar to match the original look. Bowtie will go back on as well.
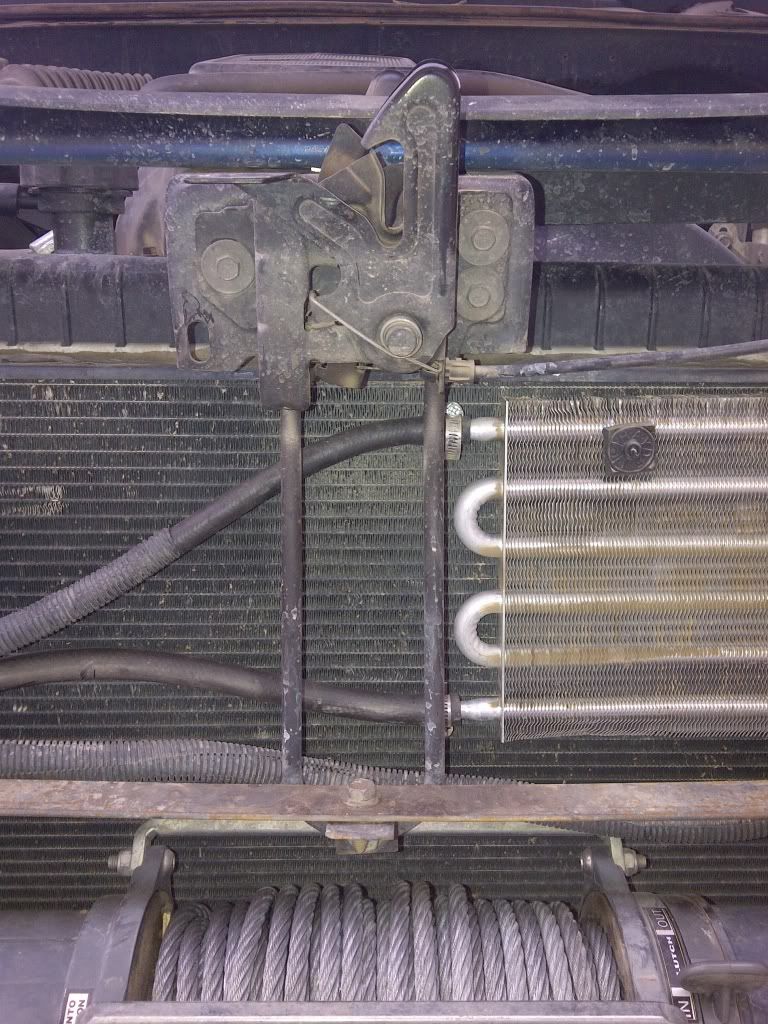
Pass side header panel installed.
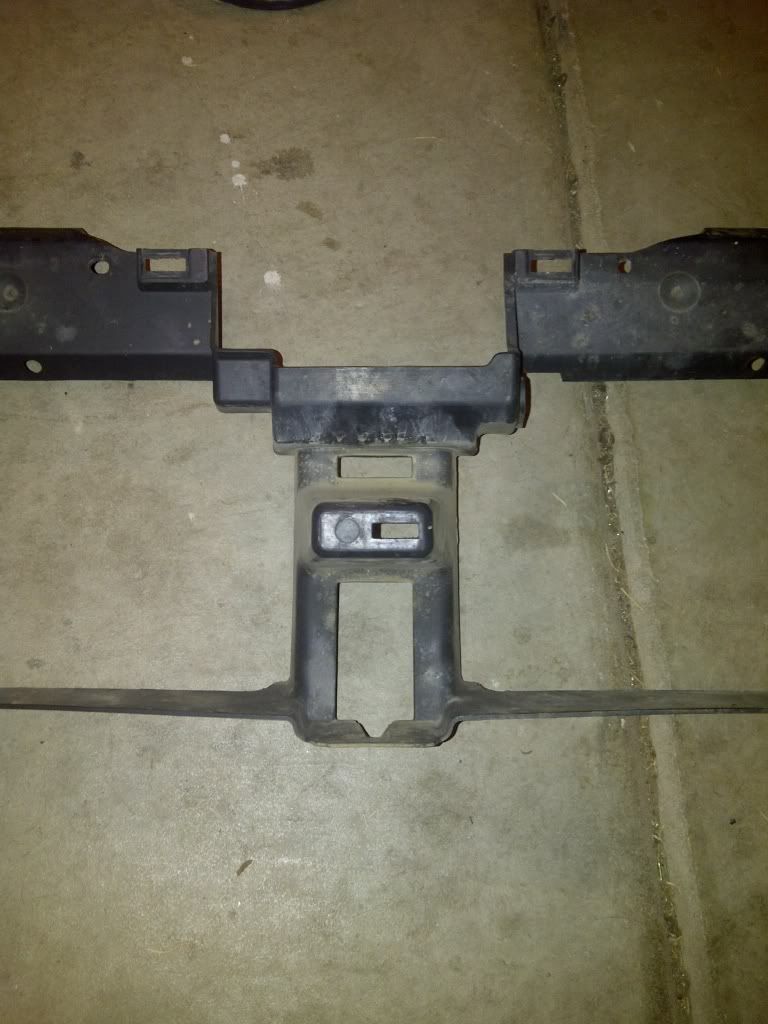
Center part of panel that blocks flow:
Radiator without panel obstruction:
Headlight with no center bar:
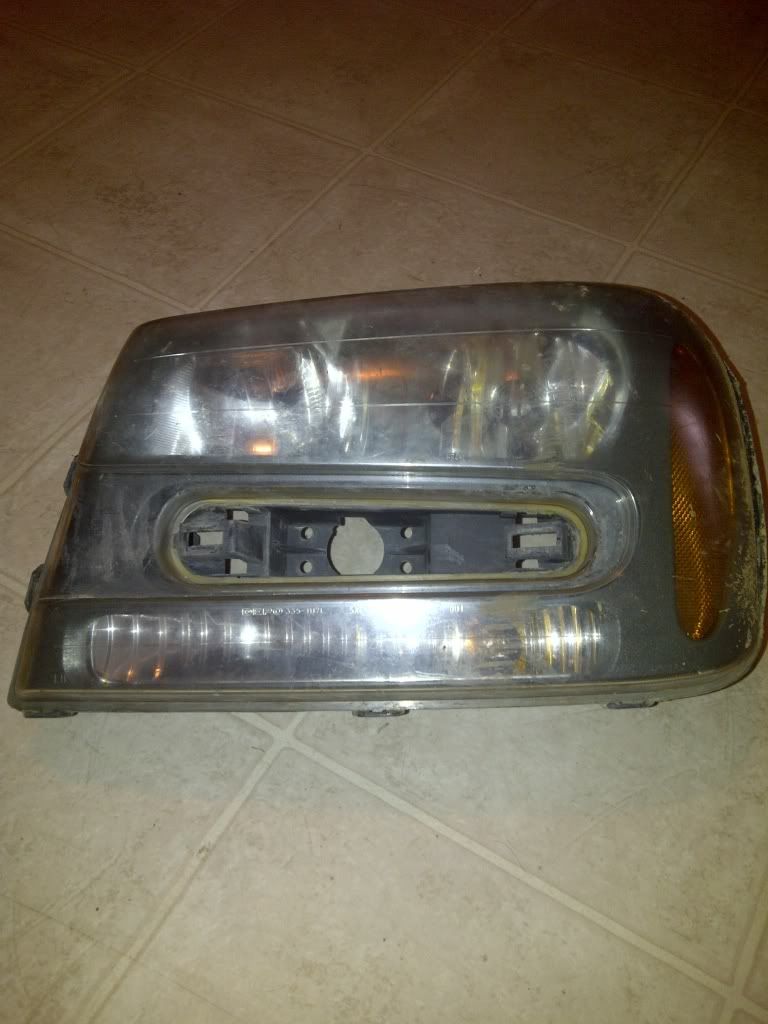
Headlight with bolt on steel filler panel:
So I chopped the good side of the header panel off and mounted it back, (when the new panel arrives I'll do the same for the drivers side) This allows a bunch of plastic in front of the radiator to go away. Then without the grille bar the headlights are ugly! So, filler panels made, and will be painted black. Last will be a new expanded metal grill, painted silver, with a black painted center bar to match the original look. Bowtie will go back on as well.
Pass side header panel installed.
Center part of panel that blocks flow:
Radiator without panel obstruction:
Headlight with no center bar:
Headlight with bolt on steel filler panel:
-
chevycrew - Veteran
- Posts: 1088
- Joined: Tue Mar 08, 2011 2:42 pm
- Location: UT, Salt Lake City
- Name: Steve
- Vehicle Year: 2002
- Vehicle: Chevrolet TrailBlazer
- DriveTrain: 4WD
- Rank: Trail Ready
You could also do the 06+ LT headlights.. they don't have a bar, if you feel like spending the money just to probably break them lol
- Rob93
- Trail-Blazer
- Posts: 276
- Joined: Tue Jul 27, 2010 5:52 pm
- Location: FL, Ft. Lauderdale
- Name: Rob
- Vehicle Year: 2006
- Vehicle: Chevrolet TrailBlazer
- DriveTrain: 2WD
This was free, I might upgrade someday, but not now anyway.
-
chevycrew - Veteran
- Posts: 1088
- Joined: Tue Mar 08, 2011 2:42 pm
- Location: UT, Salt Lake City
- Name: Steve
- Vehicle Year: 2002
- Vehicle: Chevrolet TrailBlazer
- DriveTrain: 4WD
- Rank: Trail Ready
Ha, I was considering the same thing with my cross bar since there are cracks in it.
-

djthumper - Moderator
- Posts: 2702
- Joined: Wed Mar 24, 2010 6:04 pm
- Location: NV, Las Vegas
- Name: Larry
- Vehicle Year: 2006
- Vehicle: Chevrolet TrailBlazer
- DriveTrain: 4WD
- Rank: Offroad Rated
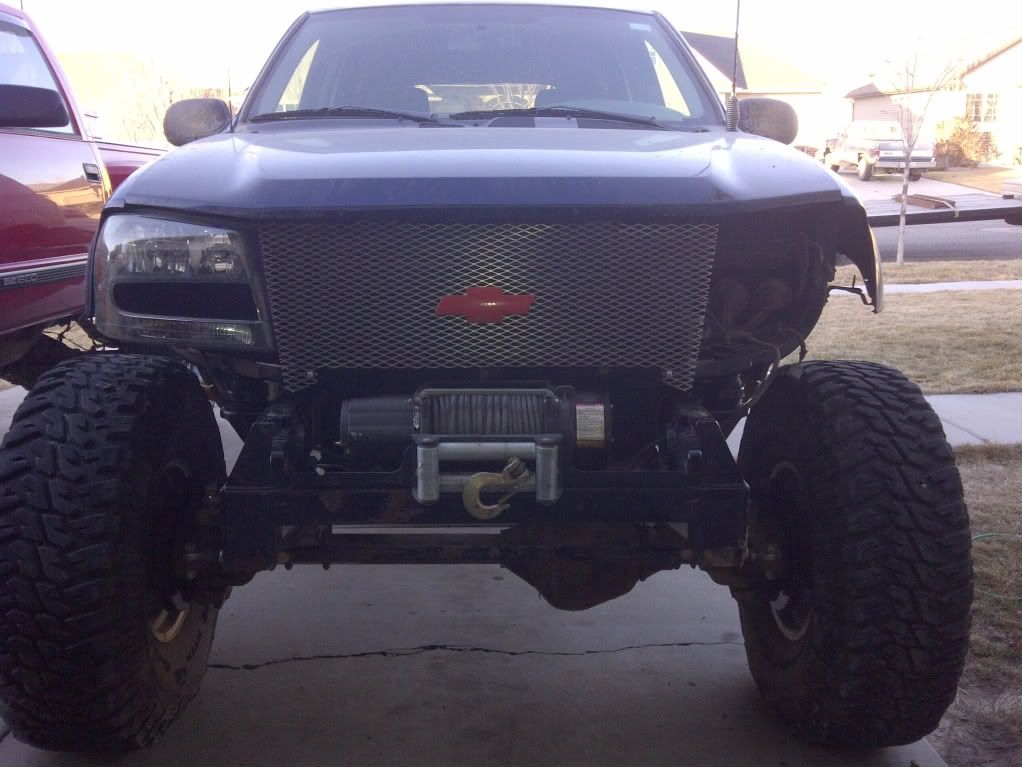
Making progress:
-
chevycrew - Veteran
- Posts: 1088
- Joined: Tue Mar 08, 2011 2:42 pm
- Location: UT, Salt Lake City
- Name: Steve
- Vehicle Year: 2002
- Vehicle: Chevrolet TrailBlazer
- DriveTrain: 4WD
- Rank: Trail Ready
I really like that.
they've always worked for me.
-

HARDTRAILZ - Moderator
- Posts: 6342
- Joined: Sat Sep 12, 2009 1:49 am
- Location: IN, Batesville
- Name: Kyle
- Vehicle Year: 2006
- Vehicle: Chevrolet TrailBlazer
- DriveTrain: 4WD w/ Aftermarket Locker
- Rank: Extreme Offroader
All painted up, now to wait on my header panel so I can finish the nose. Im also torn on leaving the headlight filler panels black, or change them to silver.
-
chevycrew - Veteran
- Posts: 1088
- Joined: Tue Mar 08, 2011 2:42 pm
- Location: UT, Salt Lake City
- Name: Steve
- Vehicle Year: 2002
- Vehicle: Chevrolet TrailBlazer
- DriveTrain: 4WD
- Rank: Trail Ready
I think blue would look good.
- tzdevill
- Cruiser
- Posts: 48
- Joined: Mon Sep 19, 2011 3:57 pm
- Location: NC Raleigh
- Name: Jeremy
- Vehicle Year: 2004
- Vehicle: Chevrolet TrailBlazer
- DriveTrain: 4WD
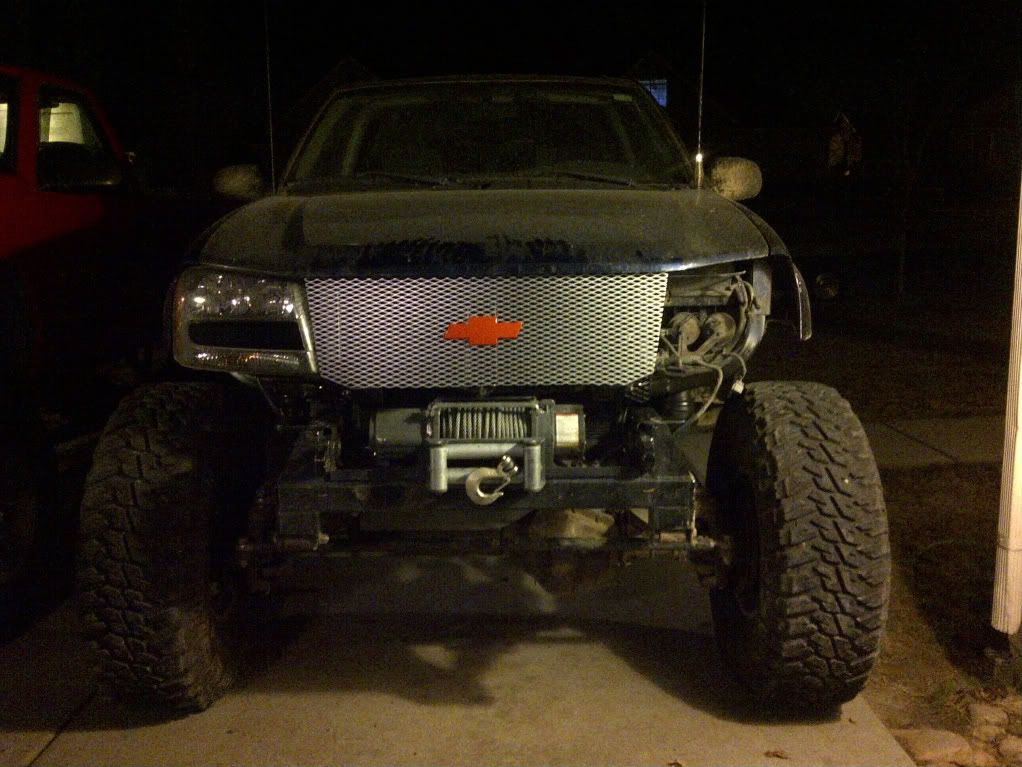
Headlight/Grille repairs and mods are complete...
-
chevycrew - Veteran
- Posts: 1088
- Joined: Tue Mar 08, 2011 2:42 pm
- Location: UT, Salt Lake City
- Name: Steve
- Vehicle Year: 2002
- Vehicle: Chevrolet TrailBlazer
- DriveTrain: 4WD
- Rank: Trail Ready
Looks good! Nice work!
Build Thread
Back to stock, had fun while it lasted...
Back to stock, had fun while it lasted...
- janesy86
- Veteran
- Posts: 1291
- Joined: Thu Sep 10, 2009 2:29 pm
- Location: MA, Salem
- Name: Nick Janes
- Vehicle Year: 2007
- Vehicle: Chevrolet TrailBlazer
- DriveTrain: 4WD w/ G80
- Rank: Offroad Rated
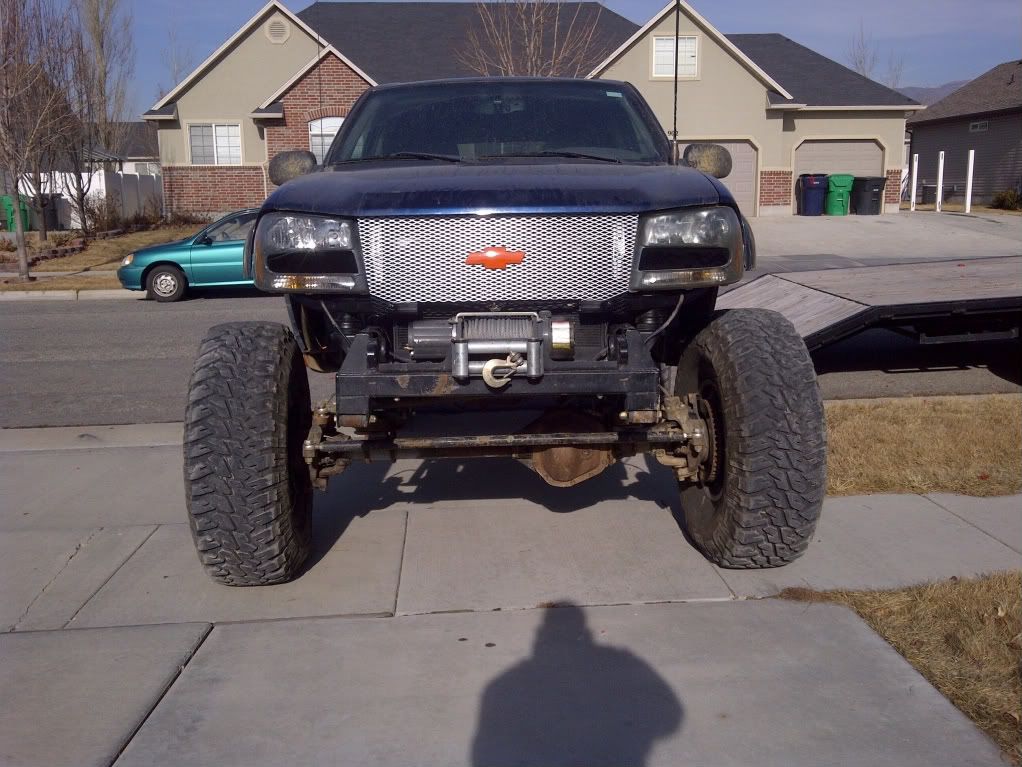
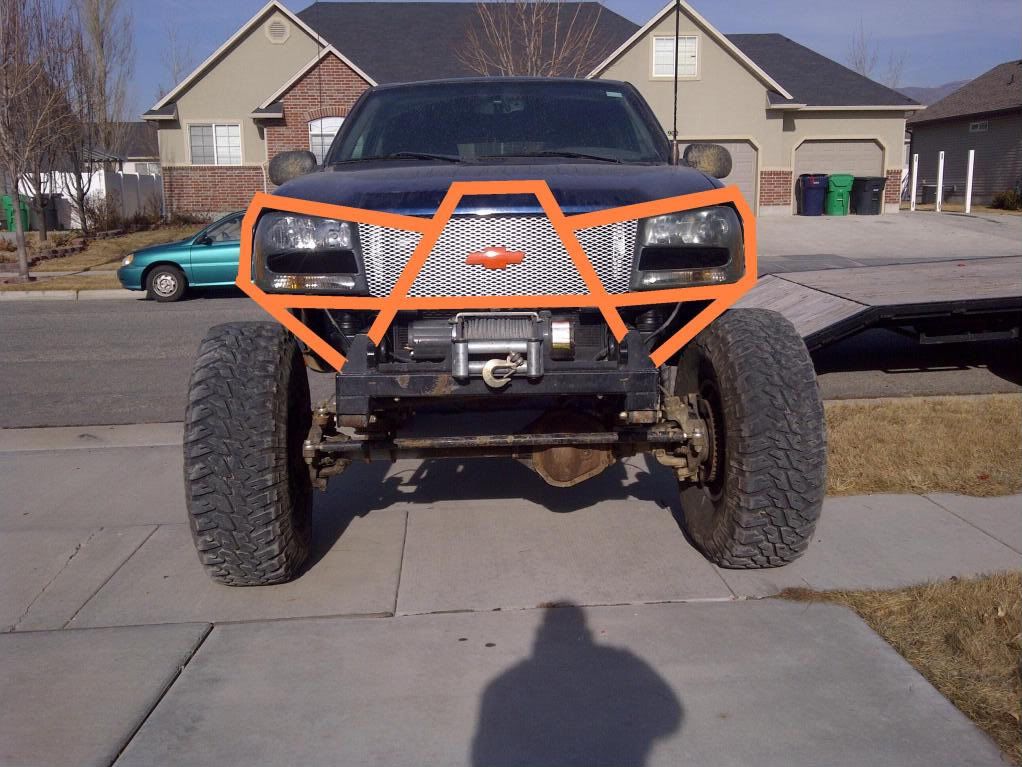
hey, have you thought about adding a plate/guard up front?
Kind of like this? Unsure about the color or coverage but you get what I mean.
Kind of like this? Unsure about the color or coverage but you get what I mean.
- Attachments
-
- CrewTB.jpg (36.33 KiB) Viewed 25230 times
"Please consider a search before posting. Folks on this site PIONEERED functional offroad use of these trucks."
The answer to many common lift questions can be found here
My Build Thread
The answer to many common lift questions can be found here
My Build Thread
-

navigator - Moderator
- Posts: 4651
- Joined: Wed Mar 09, 2011 10:16 am
- Location: NC, Winnabow
- Name: Chris
- Vehicle Year: 2006
- Vehicle: Chevrolet TrailBlazer
- DriveTrain: 4WD
- Rank: Trail Ready
The bow tie is crooked
-
djthumper - Moderator
- Posts: 2702
- Joined: Wed Mar 24, 2010 6:04 pm
- Location: NV, Las Vegas
- Name: Larry
- Vehicle Year: 2006
- Vehicle: Chevrolet TrailBlazer
- DriveTrain: 4WD
- Rank: Offroad Rated
Crooked? In what way?
-
chevycrew - Veteran
- Posts: 1088
- Joined: Tue Mar 08, 2011 2:42 pm
- Location: UT, Salt Lake City
- Name: Steve
- Vehicle Year: 2002
- Vehicle: Chevrolet TrailBlazer
- DriveTrain: 4WD
- Rank: Trail Ready
Just kidding! but it did make you look again 
-
djthumper - Moderator
- Posts: 2702
- Joined: Wed Mar 24, 2010 6:04 pm
- Location: NV, Las Vegas
- Name: Larry
- Vehicle Year: 2006
- Vehicle: Chevrolet TrailBlazer
- DriveTrain: 4WD
- Rank: Offroad Rated
Actually I went out and moved it just now between posts...
The stock bowtie fits through the holes in the mesh, but I cant perfectly center it. If you look close in the pic (count the holes) it is off about 1 hole to the passenger side. I moved it up one hole, and to the drivers side a hole. Its still off about 1/4" from being perfect, but I dont want to commit and chop bigger holes in the grille.
The stock bowtie fits through the holes in the mesh, but I cant perfectly center it. If you look close in the pic (count the holes) it is off about 1 hole to the passenger side. I moved it up one hole, and to the drivers side a hole. Its still off about 1/4" from being perfect, but I dont want to commit and chop bigger holes in the grille.
-
chevycrew - Veteran
- Posts: 1088
- Joined: Tue Mar 08, 2011 2:42 pm
- Location: UT, Salt Lake City
- Name: Steve
- Vehicle Year: 2002
- Vehicle: Chevrolet TrailBlazer
- DriveTrain: 4WD
- Rank: Trail Ready
This is what I'm thinking at the moment.
-
chevycrew - Veteran
- Posts: 1088
- Joined: Tue Mar 08, 2011 2:42 pm
- Location: UT, Salt Lake City
- Name: Steve
- Vehicle Year: 2002
- Vehicle: Chevrolet TrailBlazer
- DriveTrain: 4WD
- Rank: Trail Ready