I'm not going to start from step one, because if you dont know how to properly jack up/support the truck and remove the tires, you shouldn't be attempting this. If you dont know what control arms, tie rods, "I" shaft, CV shafts, struts, splined disco, xfer case, etc you should do quite a bit of research before attempting this.
I'll start with the shit that I did that I didn't need to.
-Remove spacers, brake calipers, and rotors
Also, I cant express enough how important part labeling and organization as you take them off. I recommend having a stash of ziploc bags and post it notes and bag/label the bolts as you go.
Drain oil from diff. Remove struts. I advise backing the two top bolts off almost all the way, but leave them threaded on a lil bit. Then the lower mount is tapered, so it can be quite stubborn. Back the nut off almost all the way on the lower strut mount. A pitman arm puller is the easiest way, but a BFH (metal) will work. If you're going to use the BFH method, made sure you back the nut off far enough to protect the threads. (this step applies to both sides)
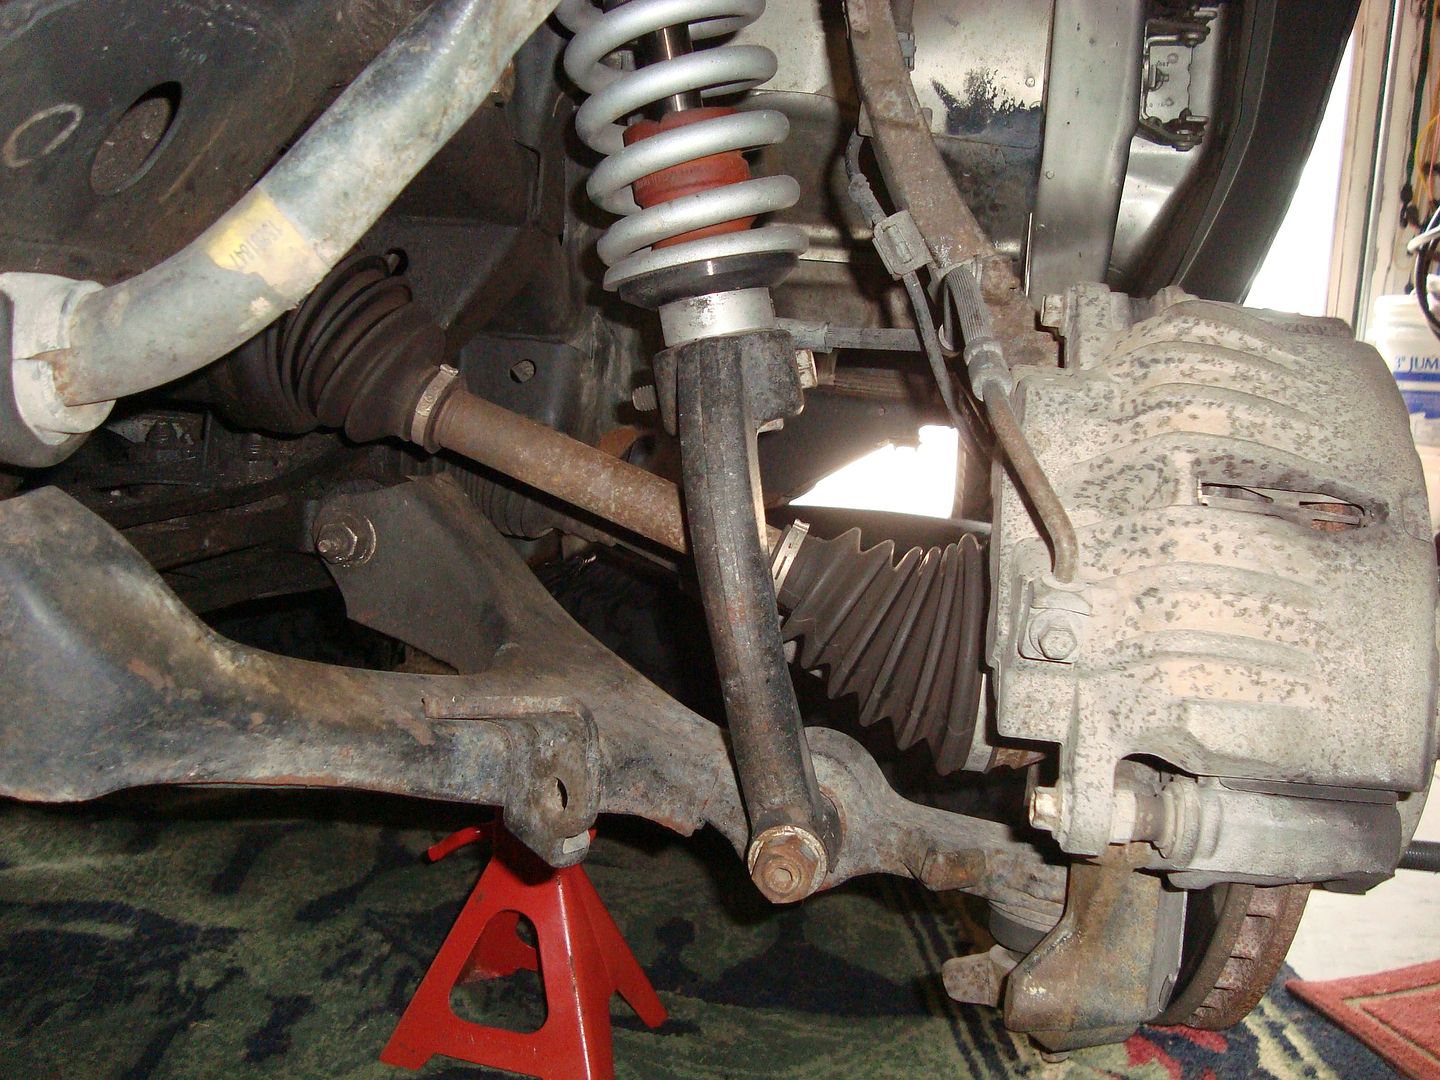
CAUTION: Dont hurt the tree frog that comes standard on 04-06 models.
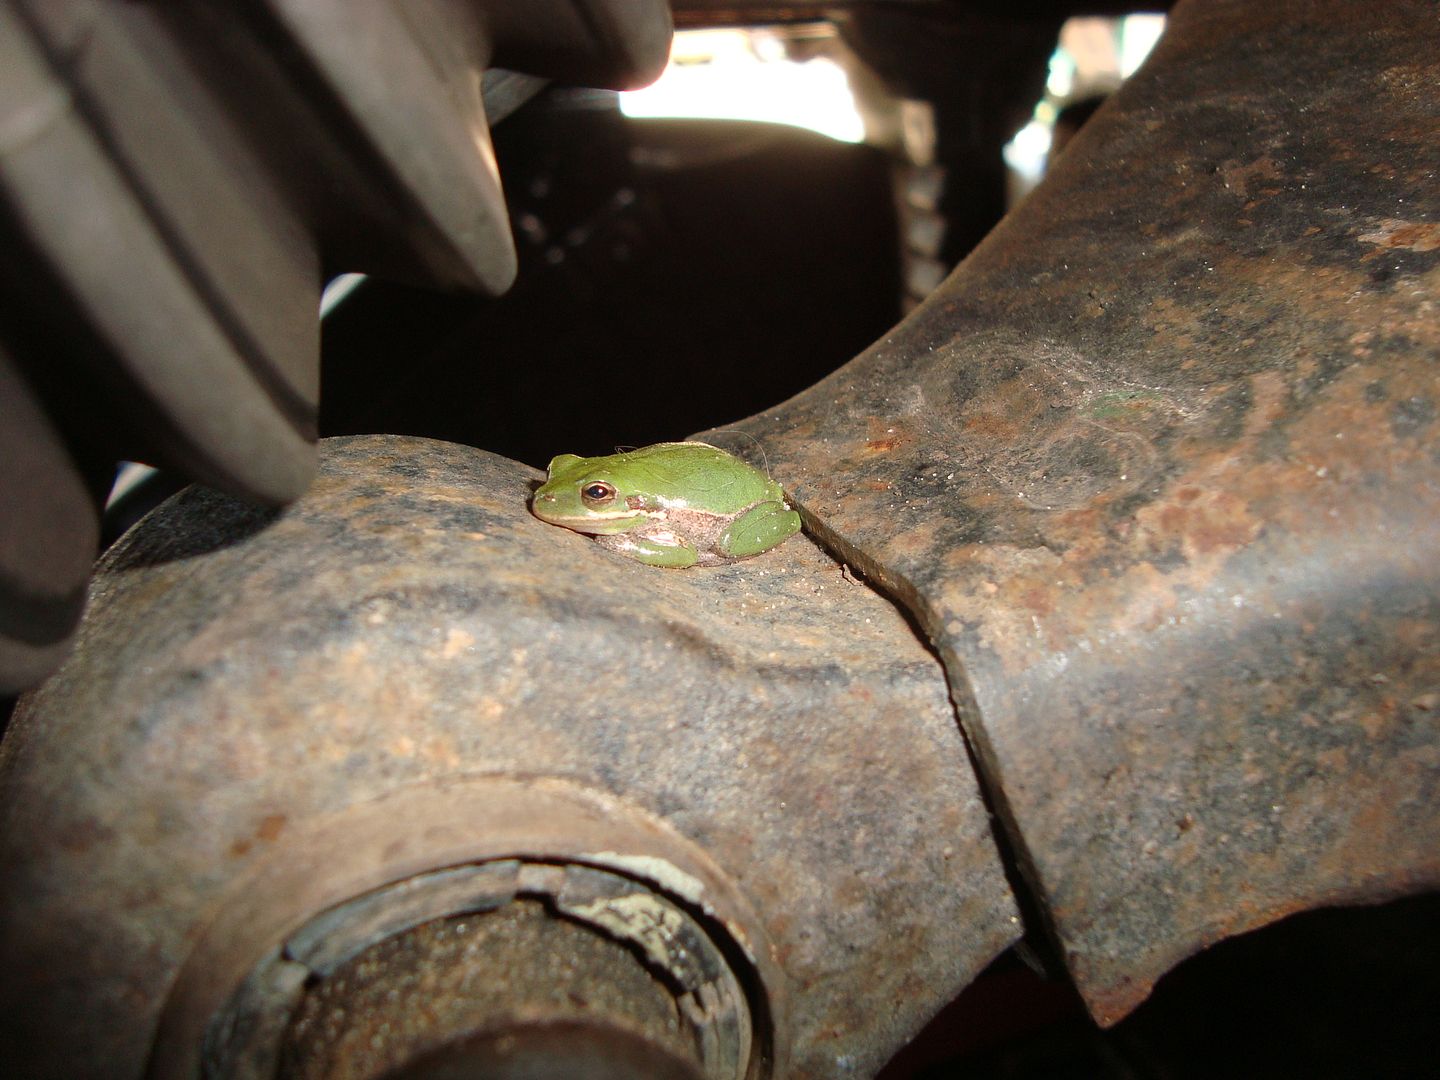
Got your strut off? Cool. Next step. Remove Tie rod nut attaching to Lower Control Arm, and disconnect from LCA. This is tapered also, so the same precaution should be used if you're going to hammer it out. Dont mess up your threads. Unbolt the brake line support and the speed sensor wire as to not break/stretch them (not yet removed in the pic). Remove the upper ball joint from the control arm and allow it to pivot down. Rotate the arm down, allowing you to remove the CV shaft. Return the upper ball joint to the UCA after the CV is removed (this step applies to both sides)
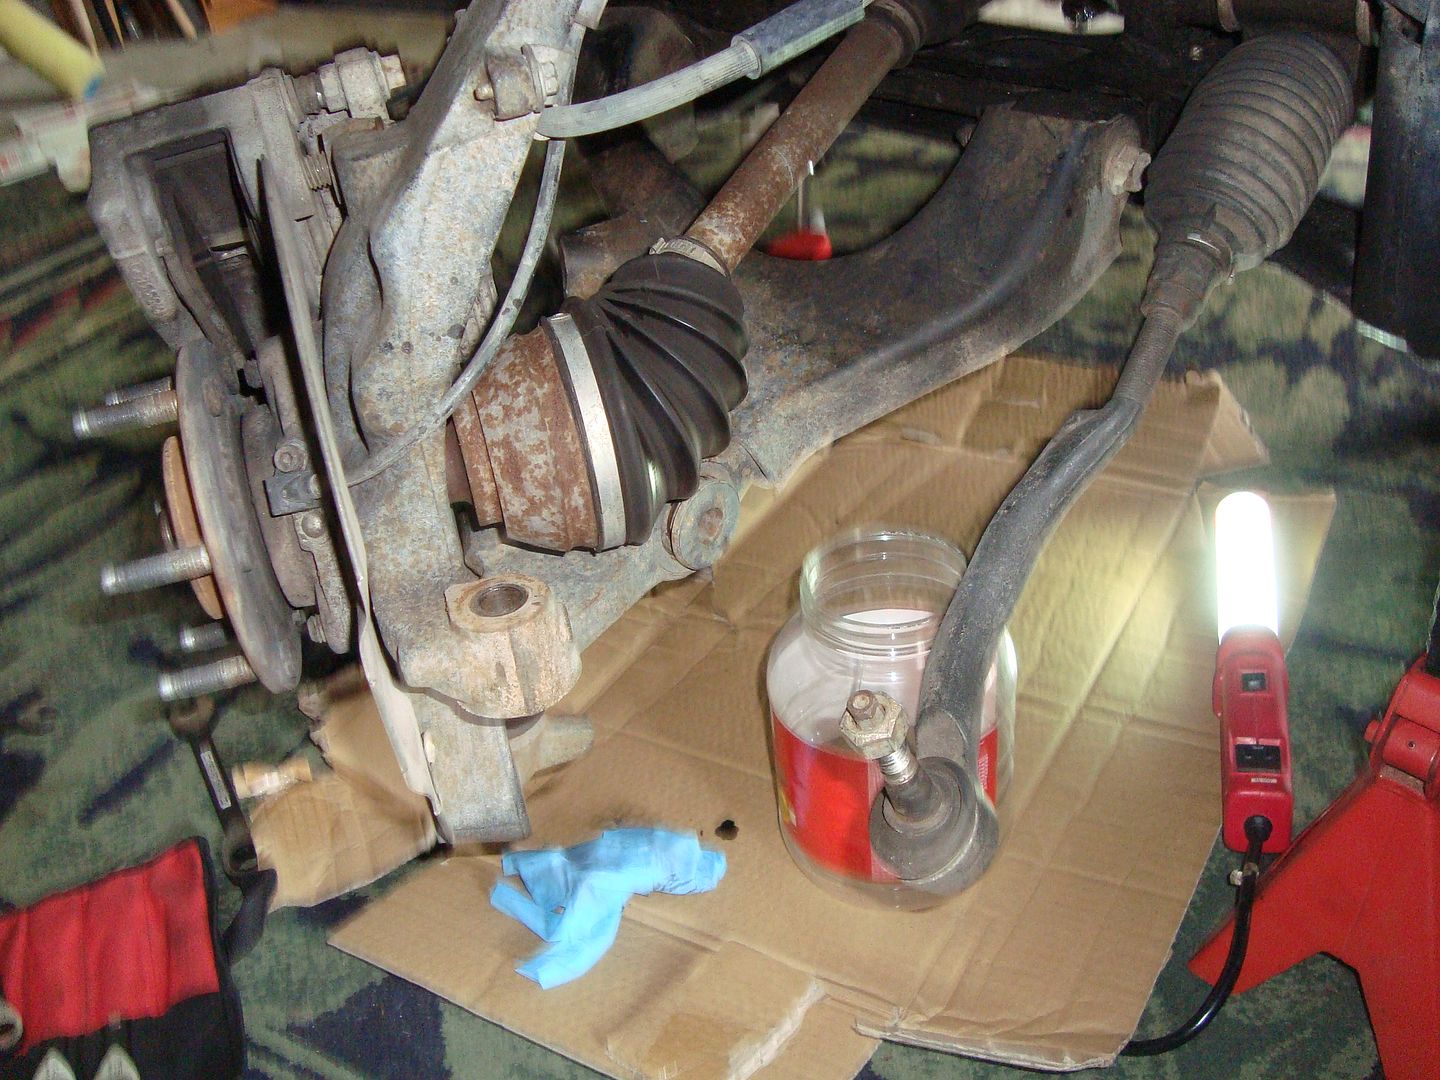
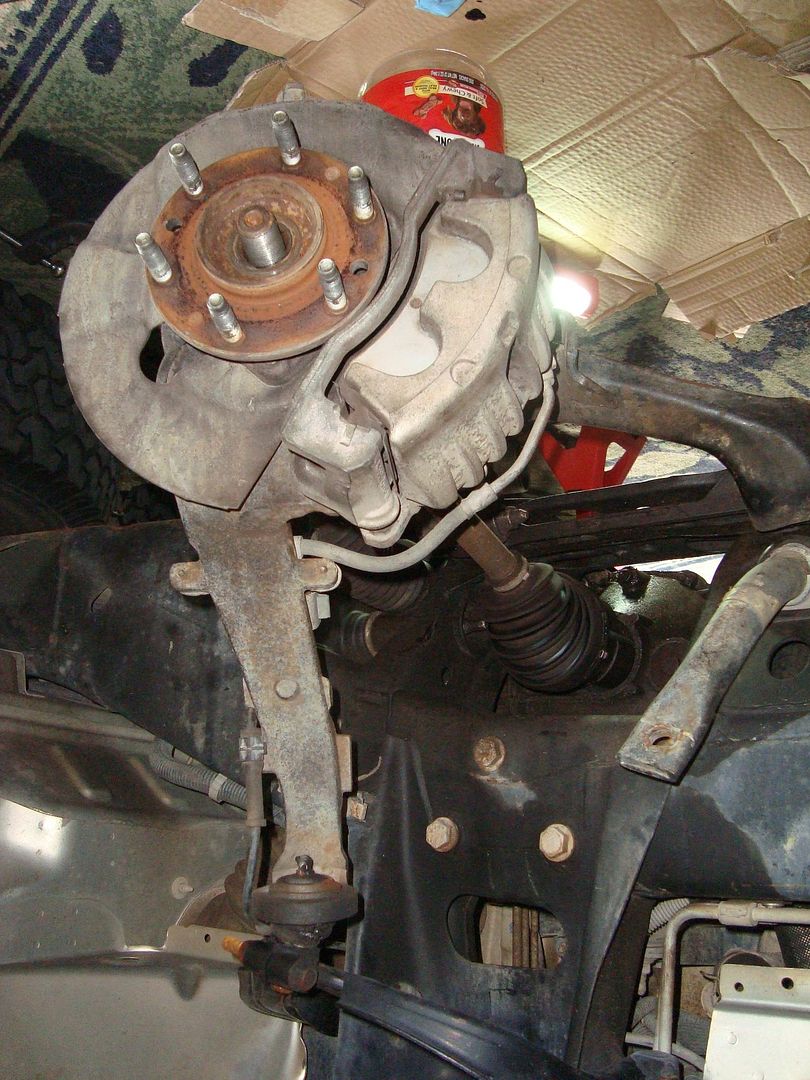
Good job on making it this far.
DIRTYBACON's tip: remove driver side CV first. while removing the passenger side, unbolt the splined disco from oil pan and pull it out still attached to CV. This is to prevent damaging the splined disco while trying to pry out the CV (many of us have broken the disco case trying to pry the CV from the disco). Some times the intermediate shaft will come out with the splined disco also, for an added bonus.
If the I shaft didn't come out with the disco, figure out another way to get it. I used a simple pair of Robo-Grip pliers. At this point you should have the struts, CV shafts, and the "I" shaft removed. The splined disco and I shaft will be out if you used my tip. If you're not at this point... get there. Dont forget to organize your parts as you go.
I'm not sure of the official name of the next 2 parts, but I can describe them as big black beams going laterally across the frame. One lies flat, one is more of an "I" beam shape, standing up. Unbolt and remove. CAUTION: some of these bolts holding the brackets on are also the LCA bolts. Be careful not to mess up your alignment. Removal of LCA is not necessary.
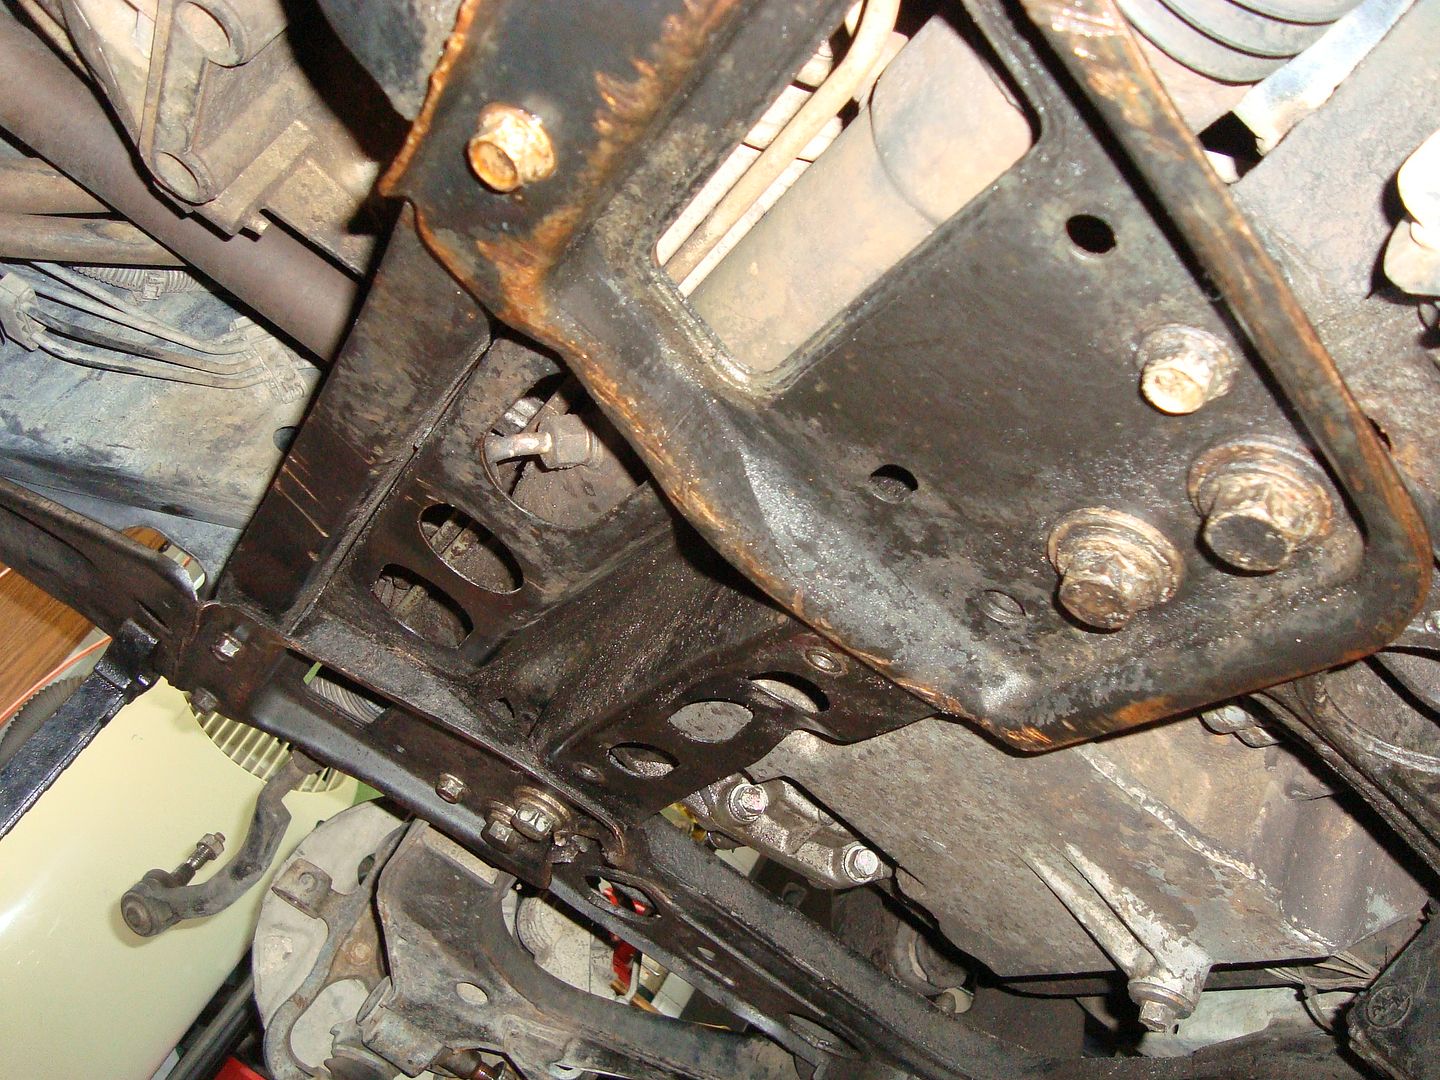
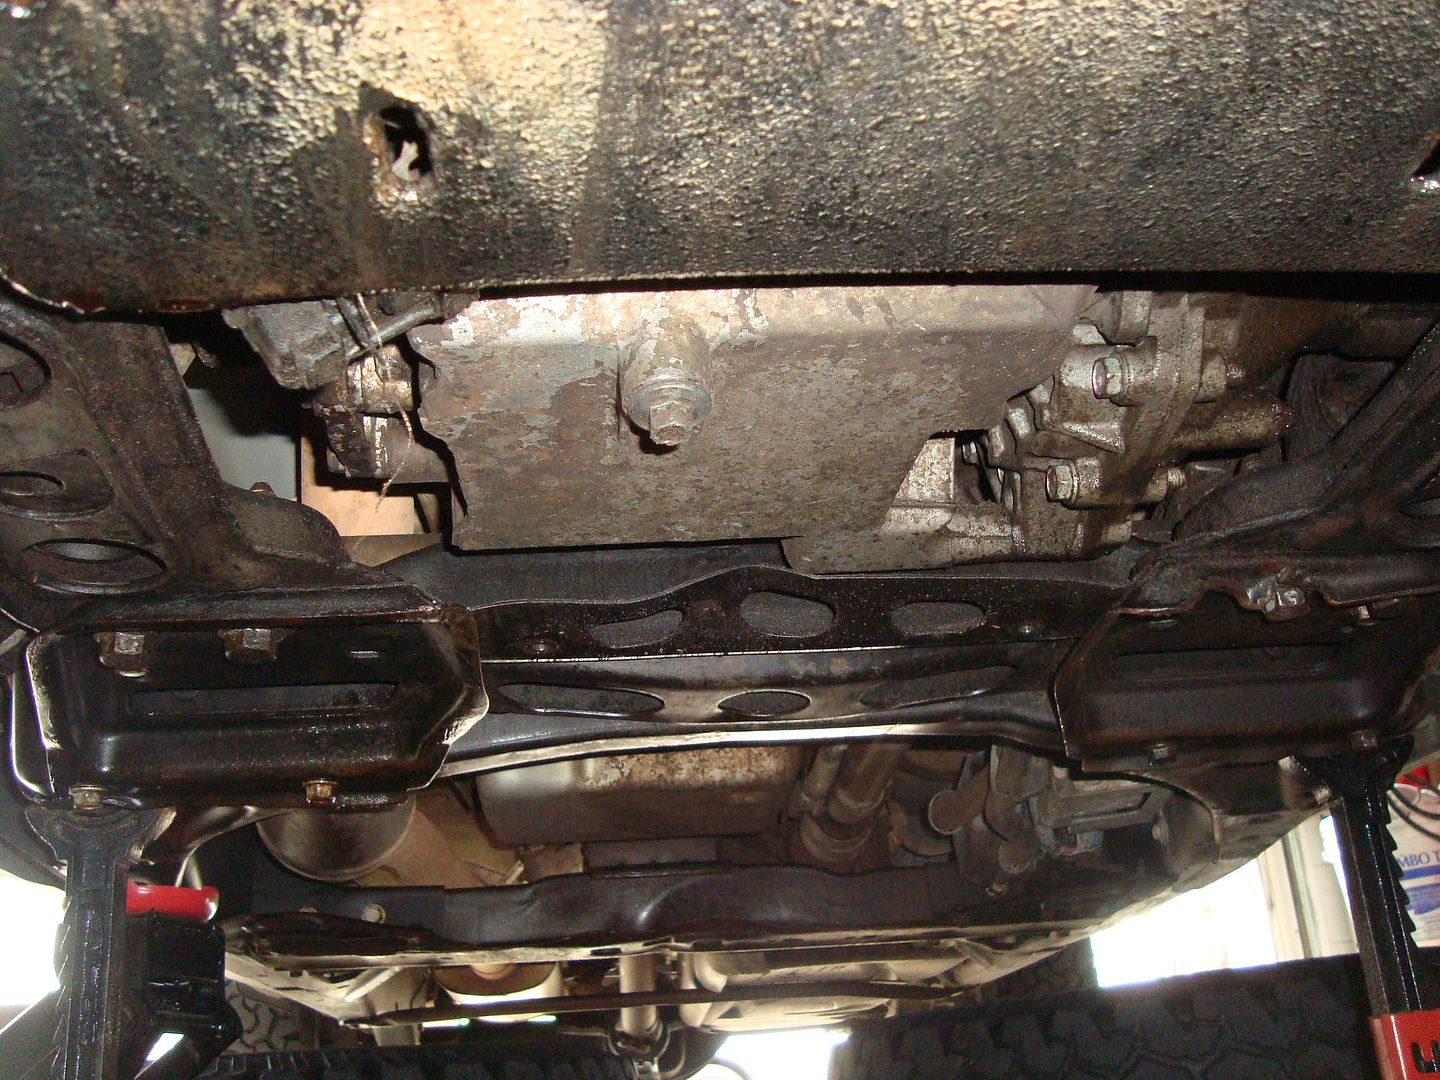
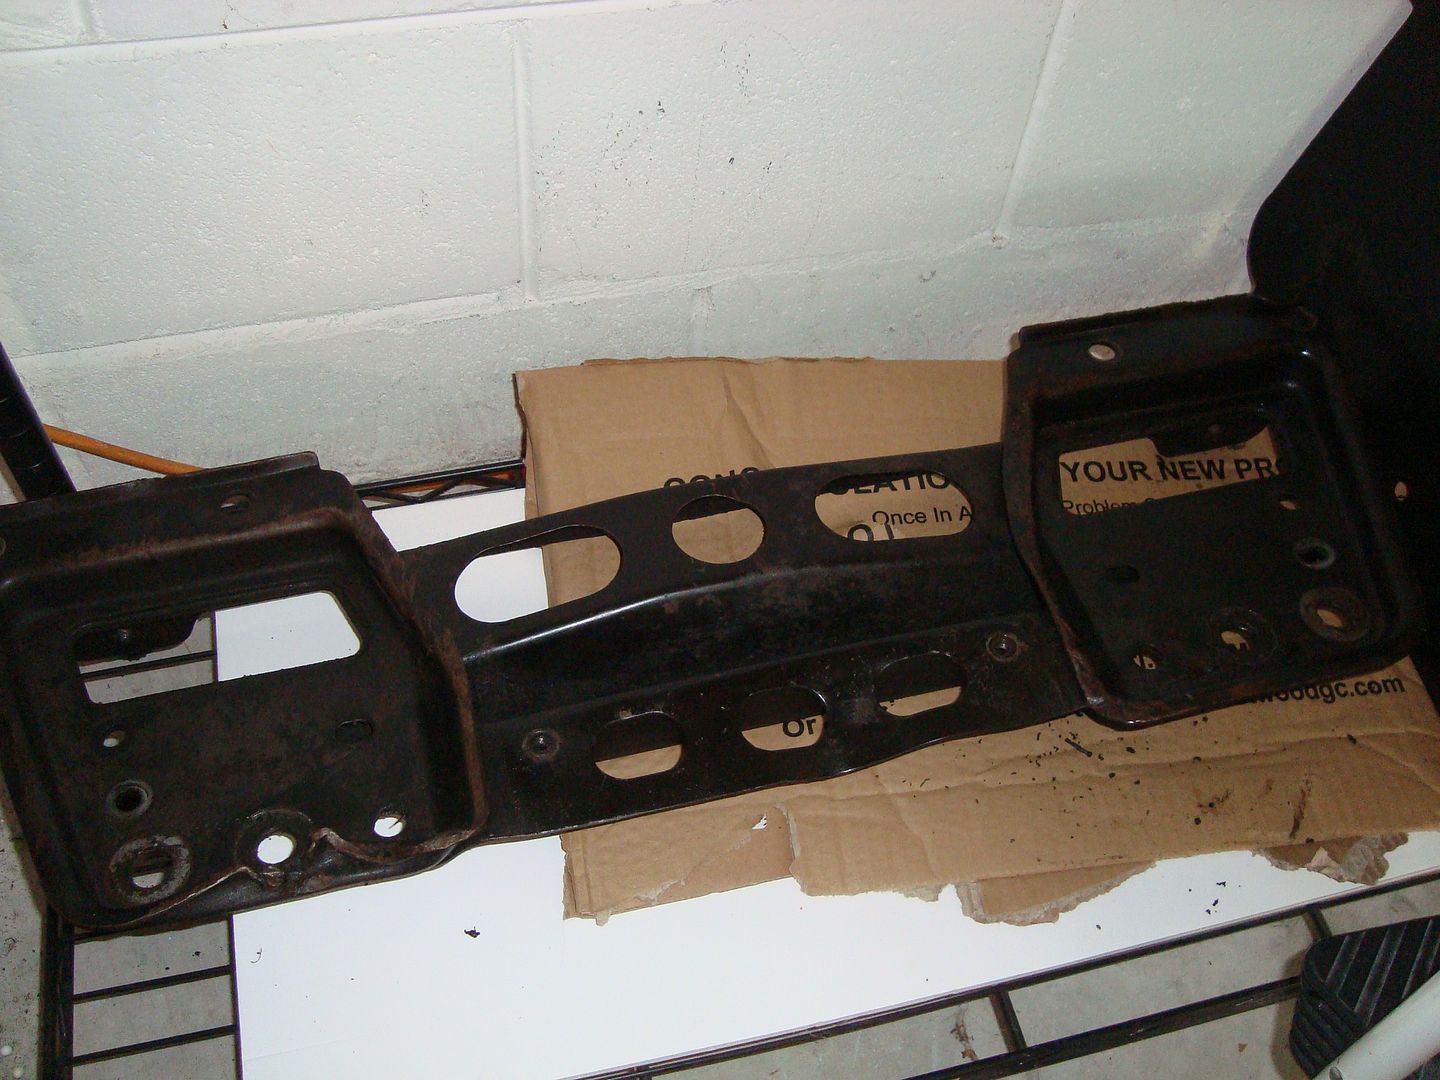
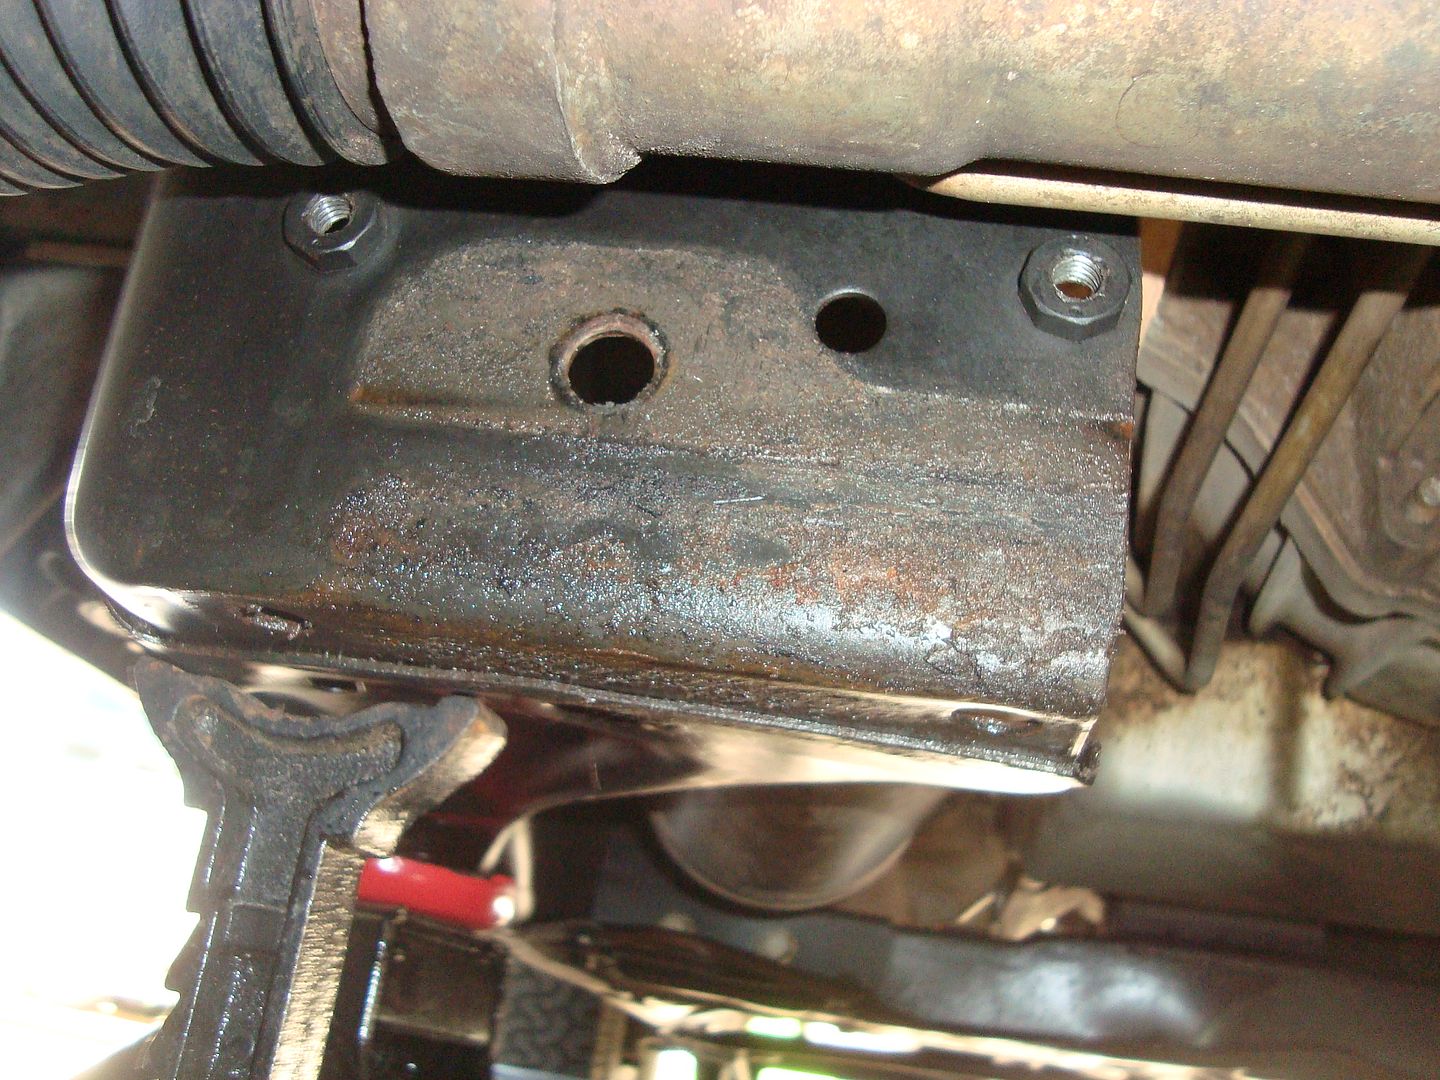
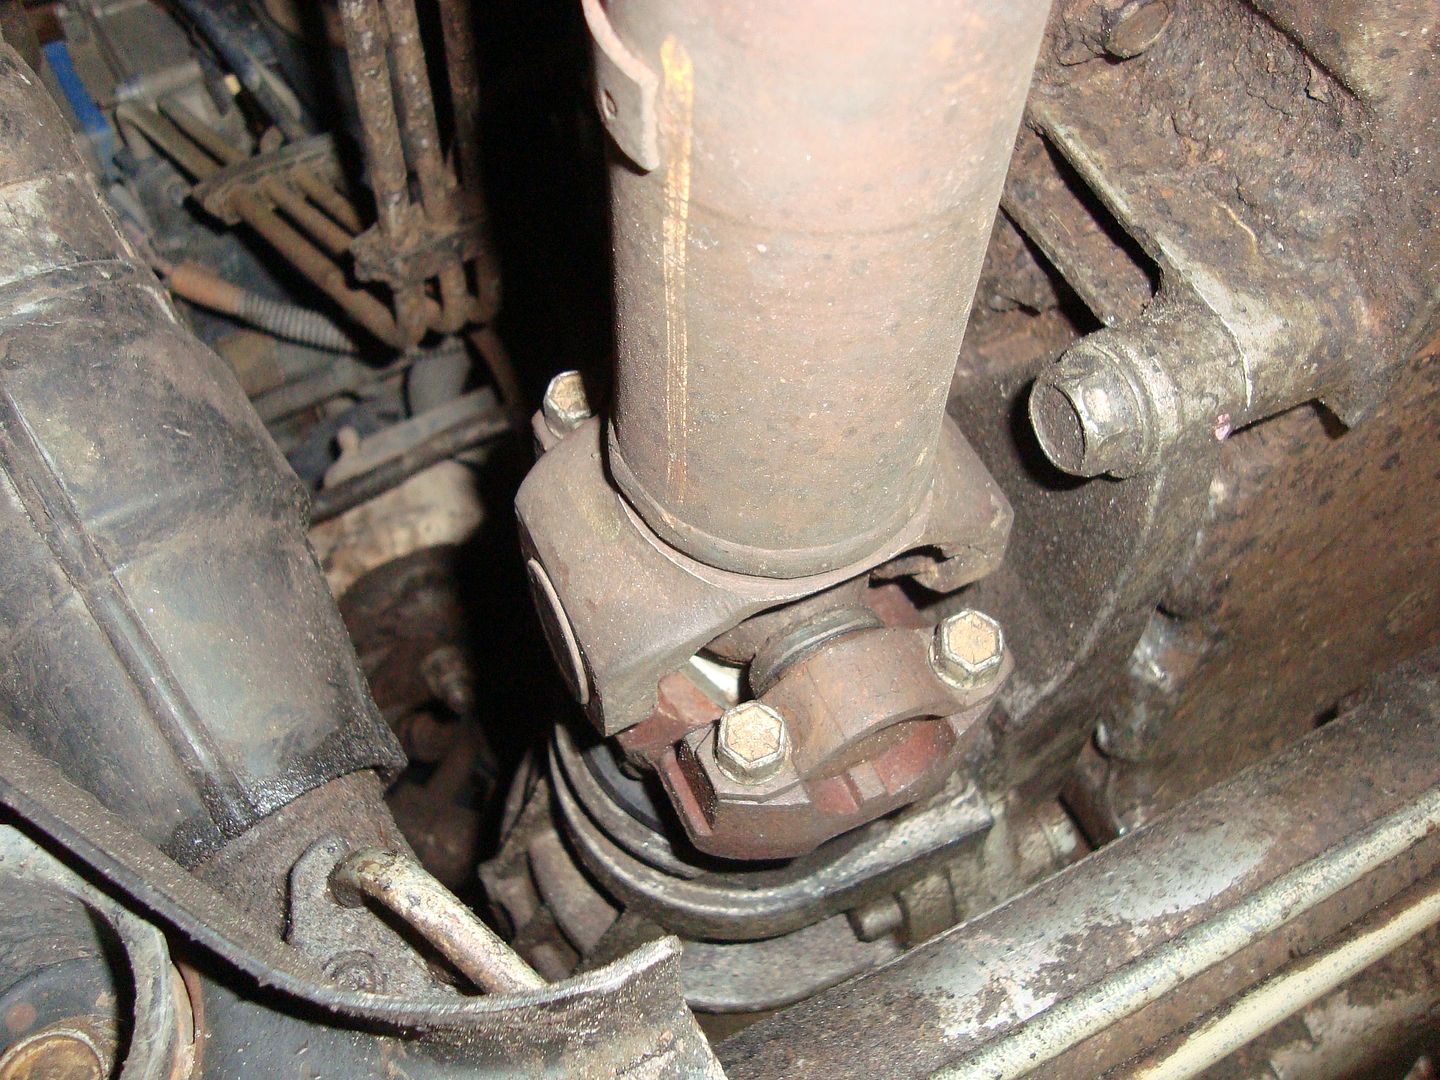
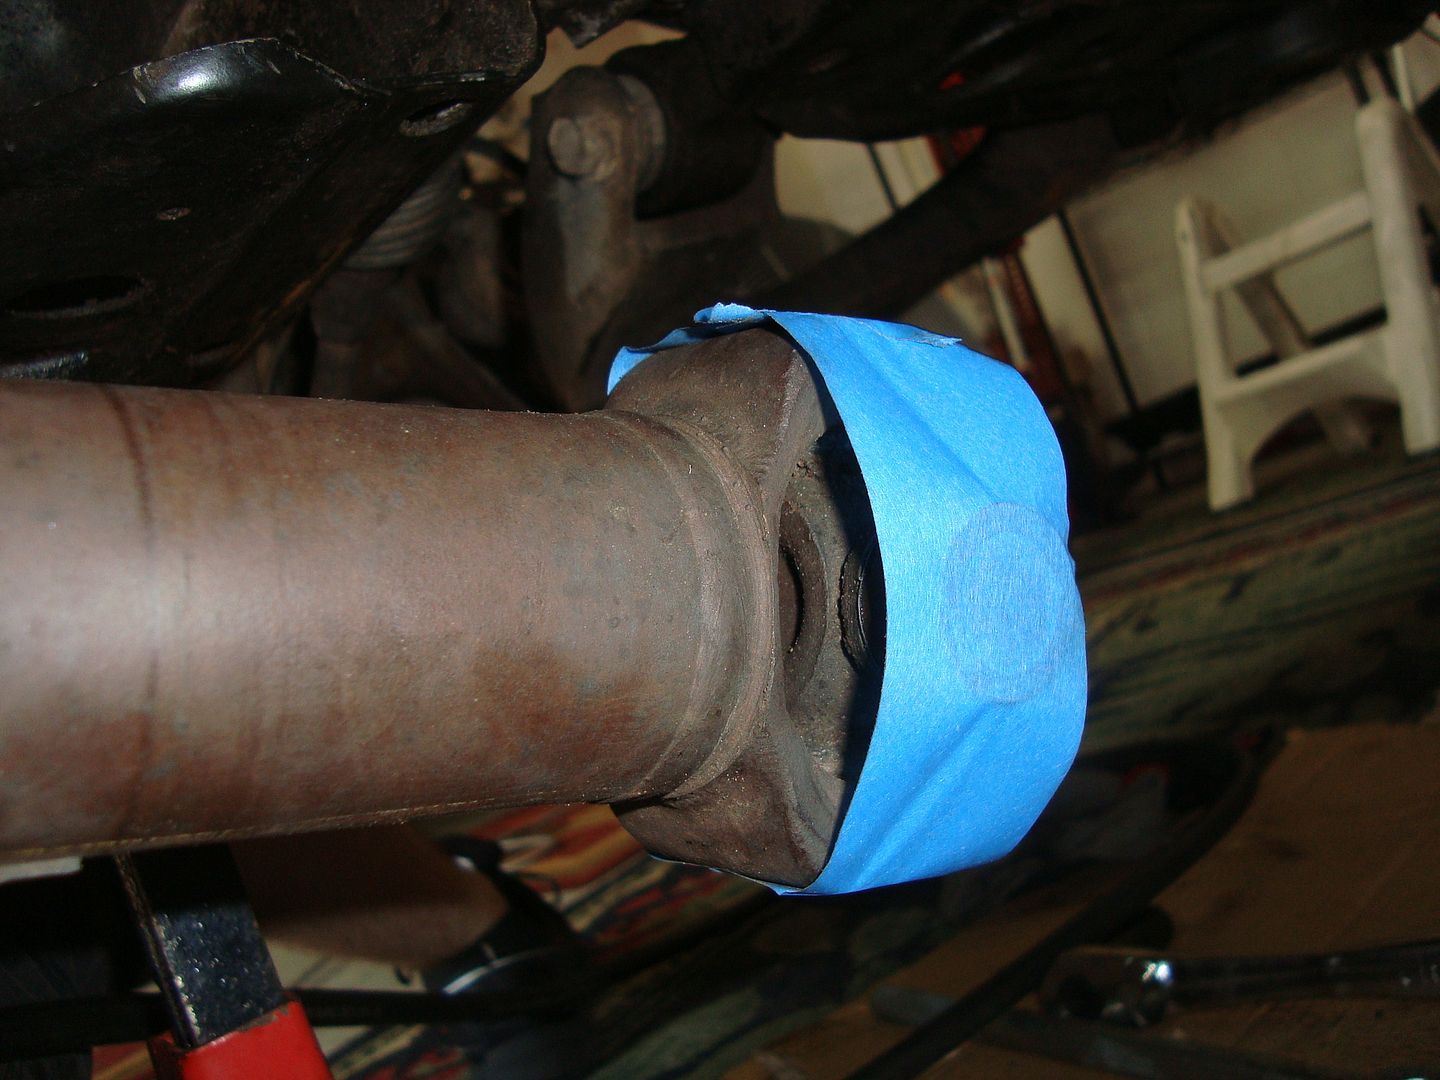
Disconnect and remove driveshaft (xfer case to front diff). Start at the U-joint conected to the front diff. When you remove the u-joint be vary careful and gentle not to bump it. Hold on to the caps as you lower it. The caps on the end of your u joints are filled with needle bearings and if you drop it, you might as well go buy a new set. I advise on wrapping tape/rubber band around the u-joint as shown.
Next on the list is creating some more room. Here's what I did do gain that. Unbolt the driverside mount of the steering rack, and disconnect the steering linkage. Pull down on the driver side, this will give you a few more inches of wiggle room which will prove valuable.
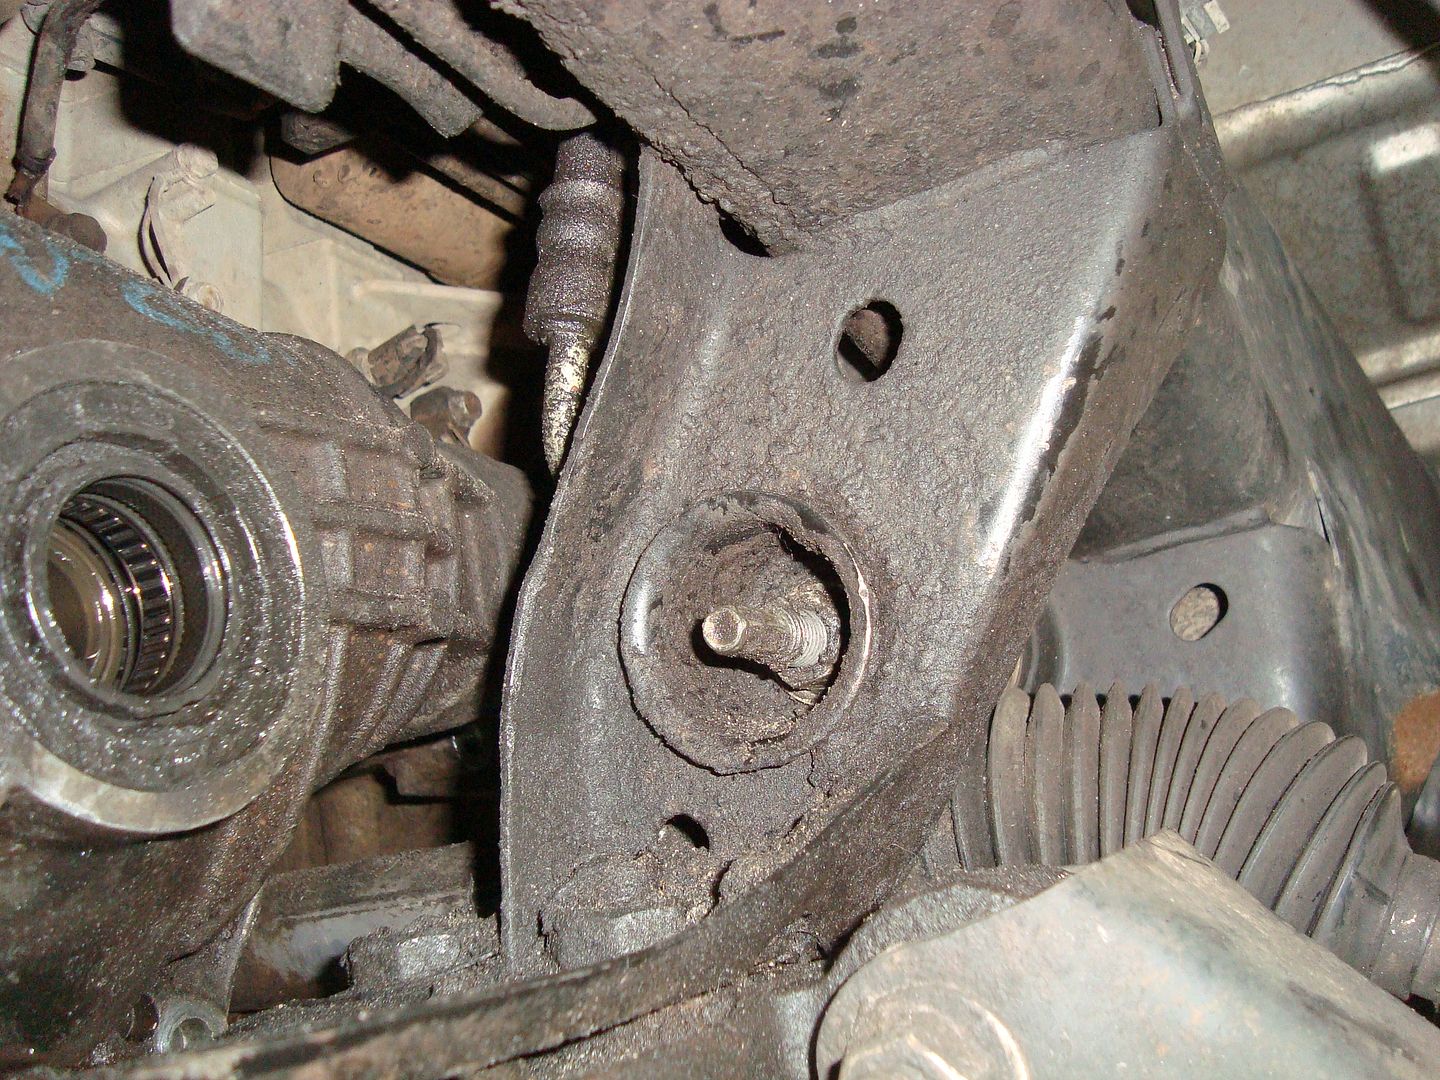
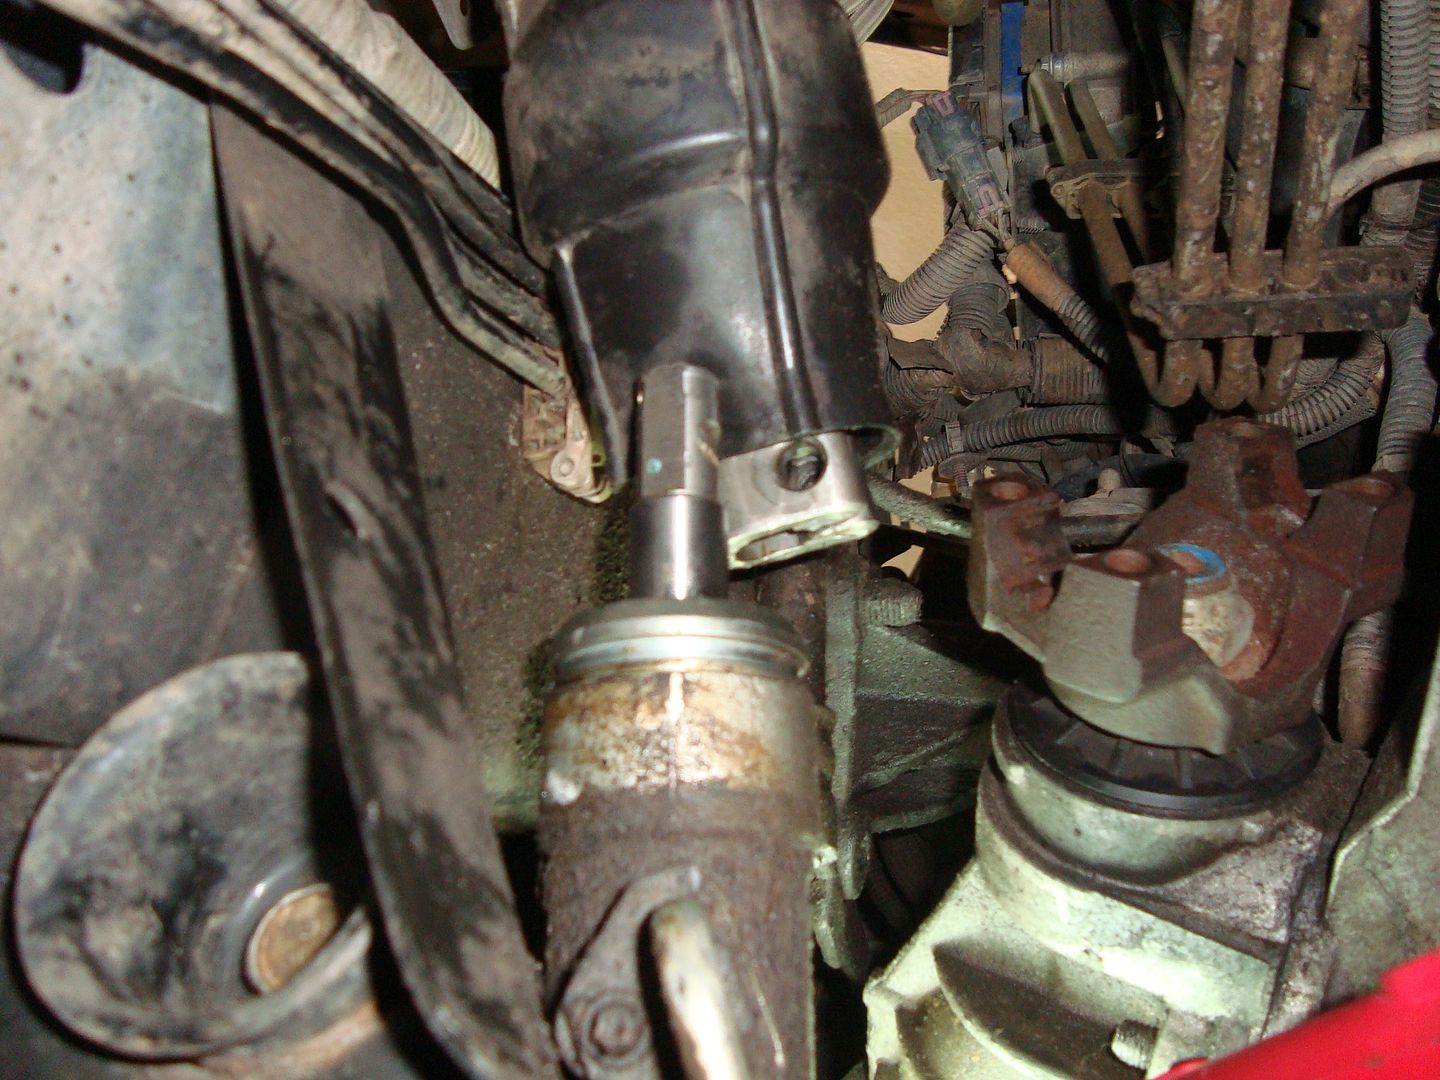
I decided to give me some MORE wiggle room by backing the nuts off the bottom of my motor mounts (2) and jacking up the motor a little bit.
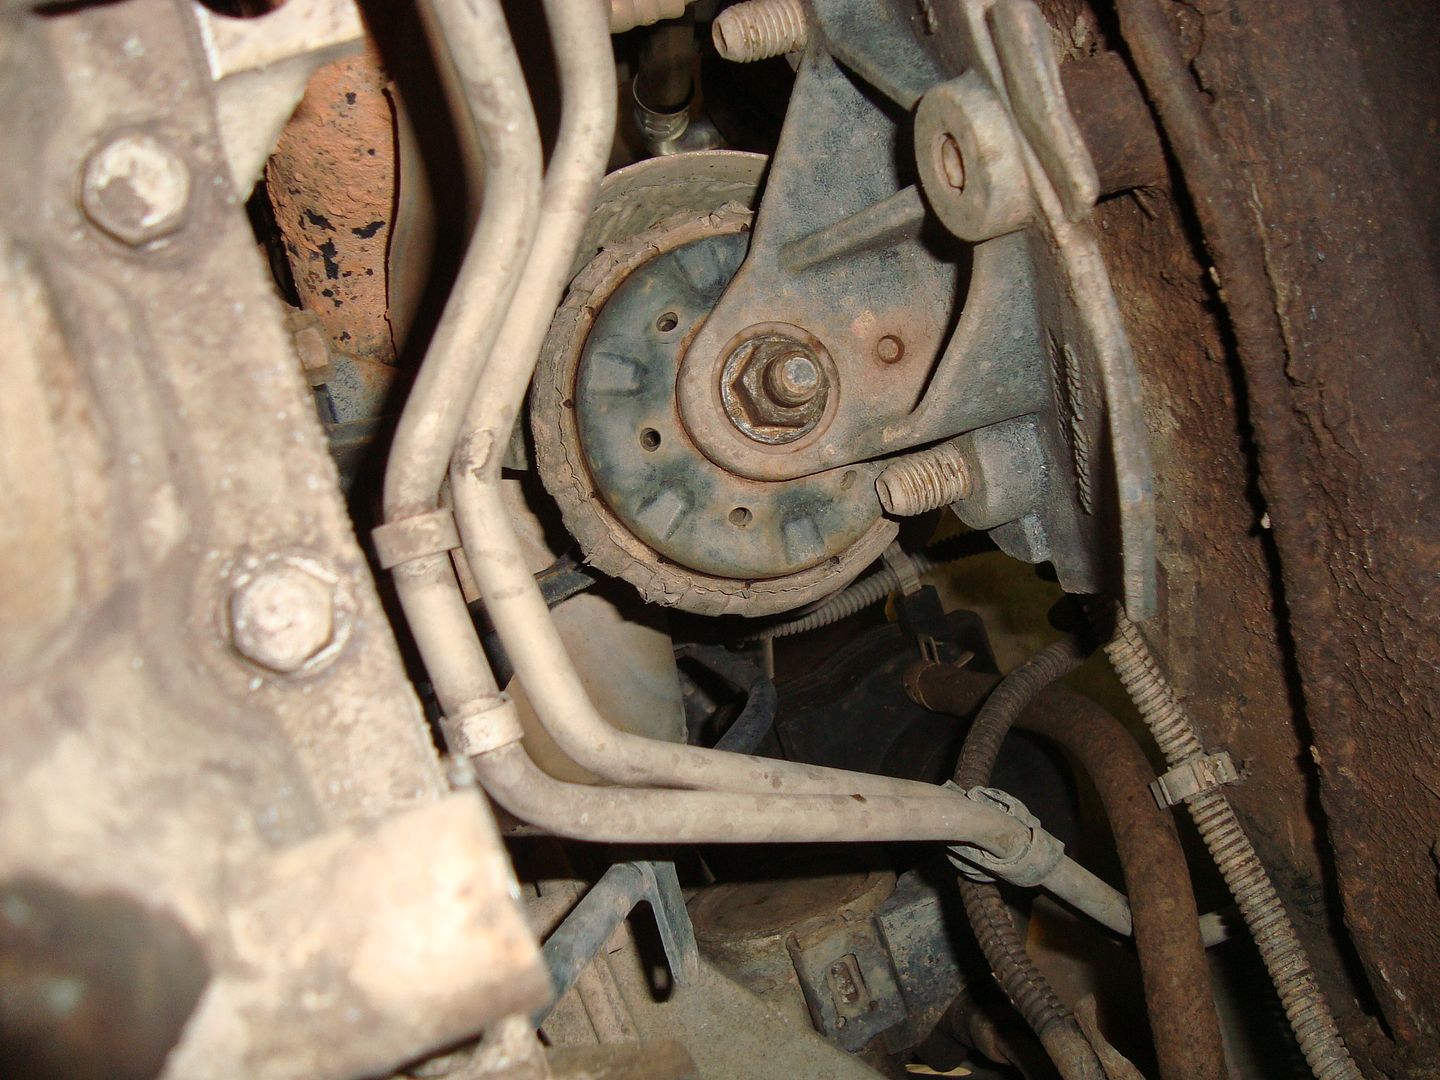
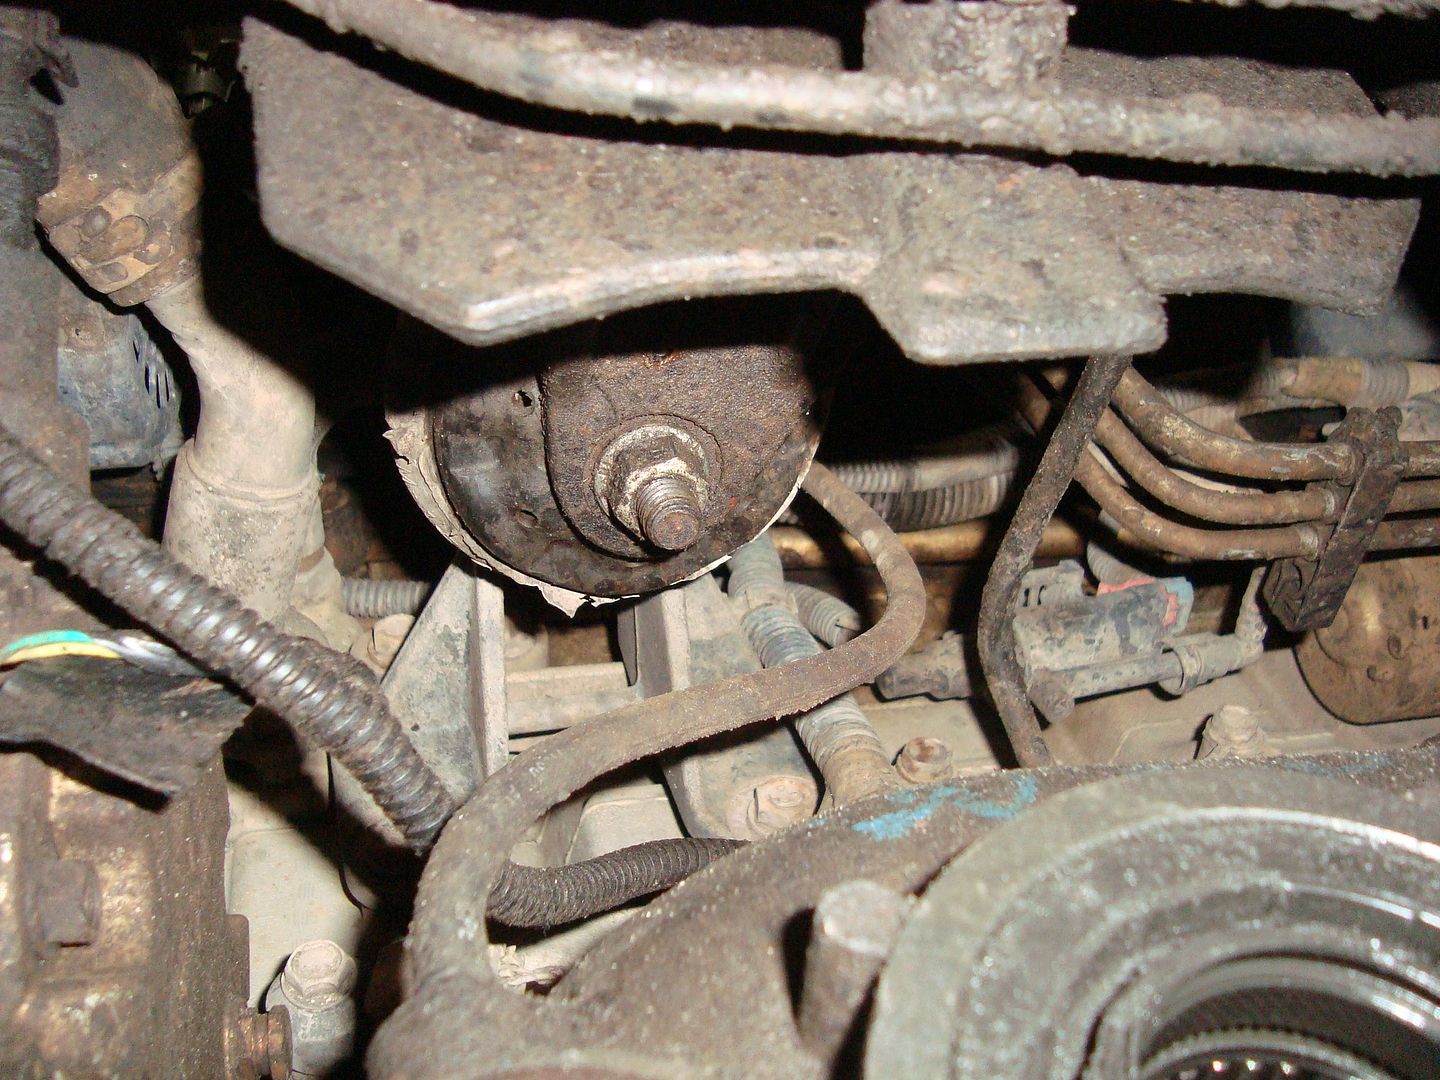
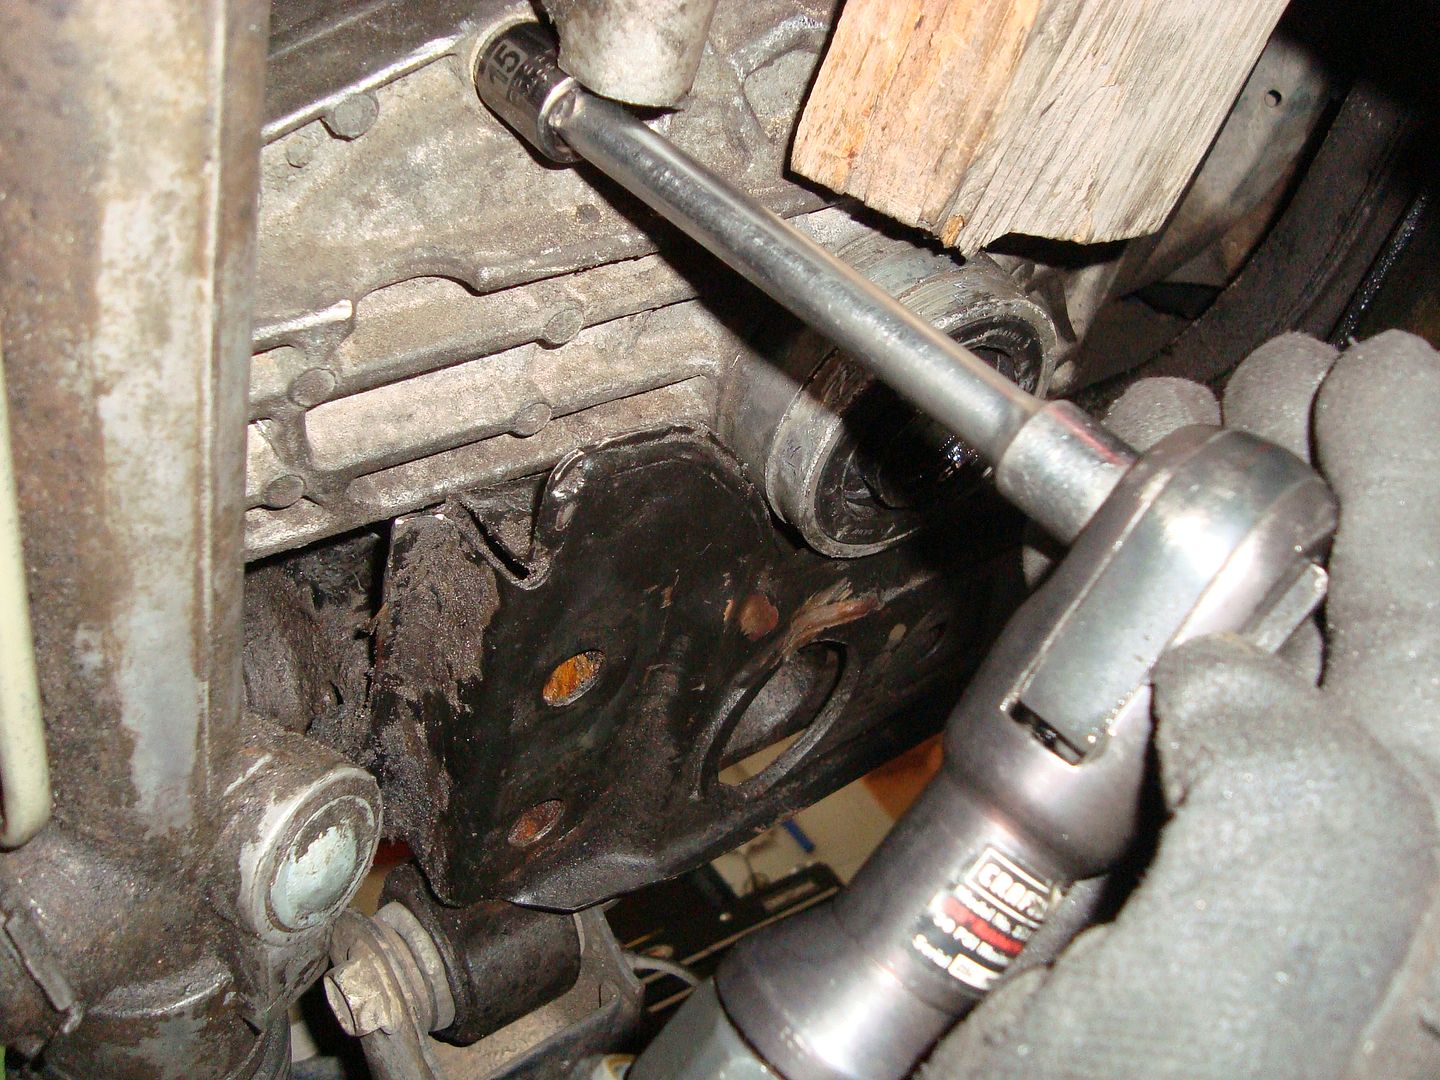
Unbolt the (4) mounting bolts to the front diff
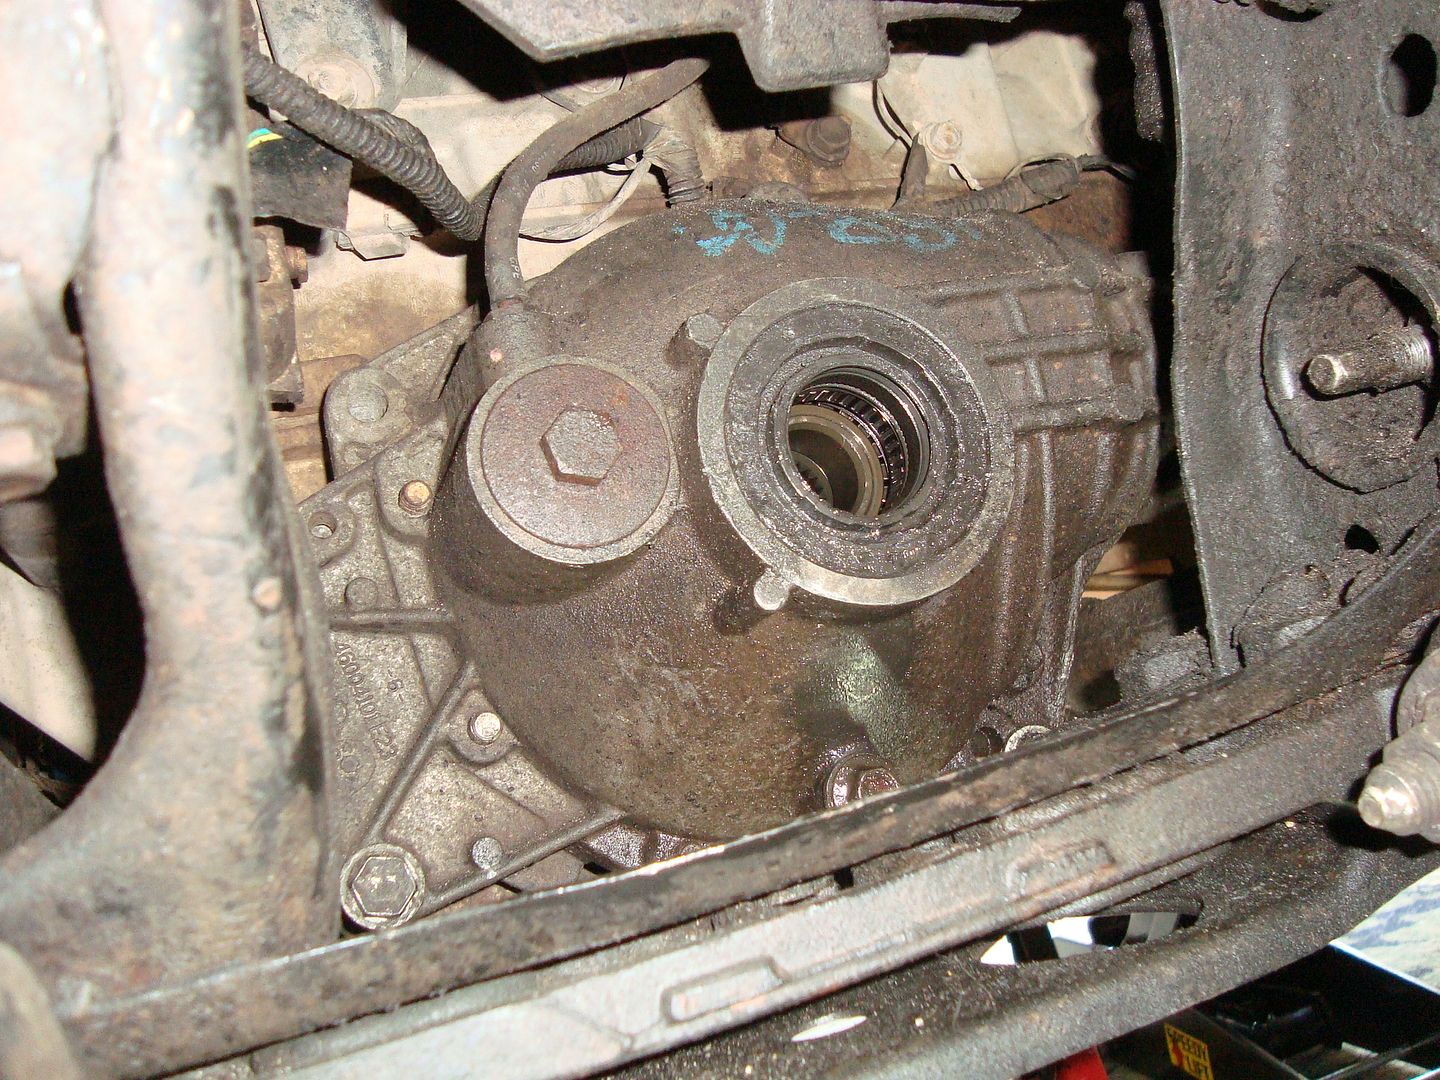
This is where this process goes from hard to pissin-me-off. You can rotate and twist it any which way and try to pull out out over the steering rack, out the back of the motor. Well, a whole bunch of bruises and cuts later, I decided to try and disassemble the front diff and pull it out in (3) pieces. About 2 hours of diff twisting, wigglying, and turning had negative results. About 20 minutes after beginning the disassembly process, it was out of the truck. My advice is to drop the diff straight down, roll clockwise, 45 deg, unbolt the bottem bolts. Then roll it 90 deg back the other way and get the top half bolts. Remove the smaller half cover first, then the carrier, then the bigger half last. (installation is reverse order)
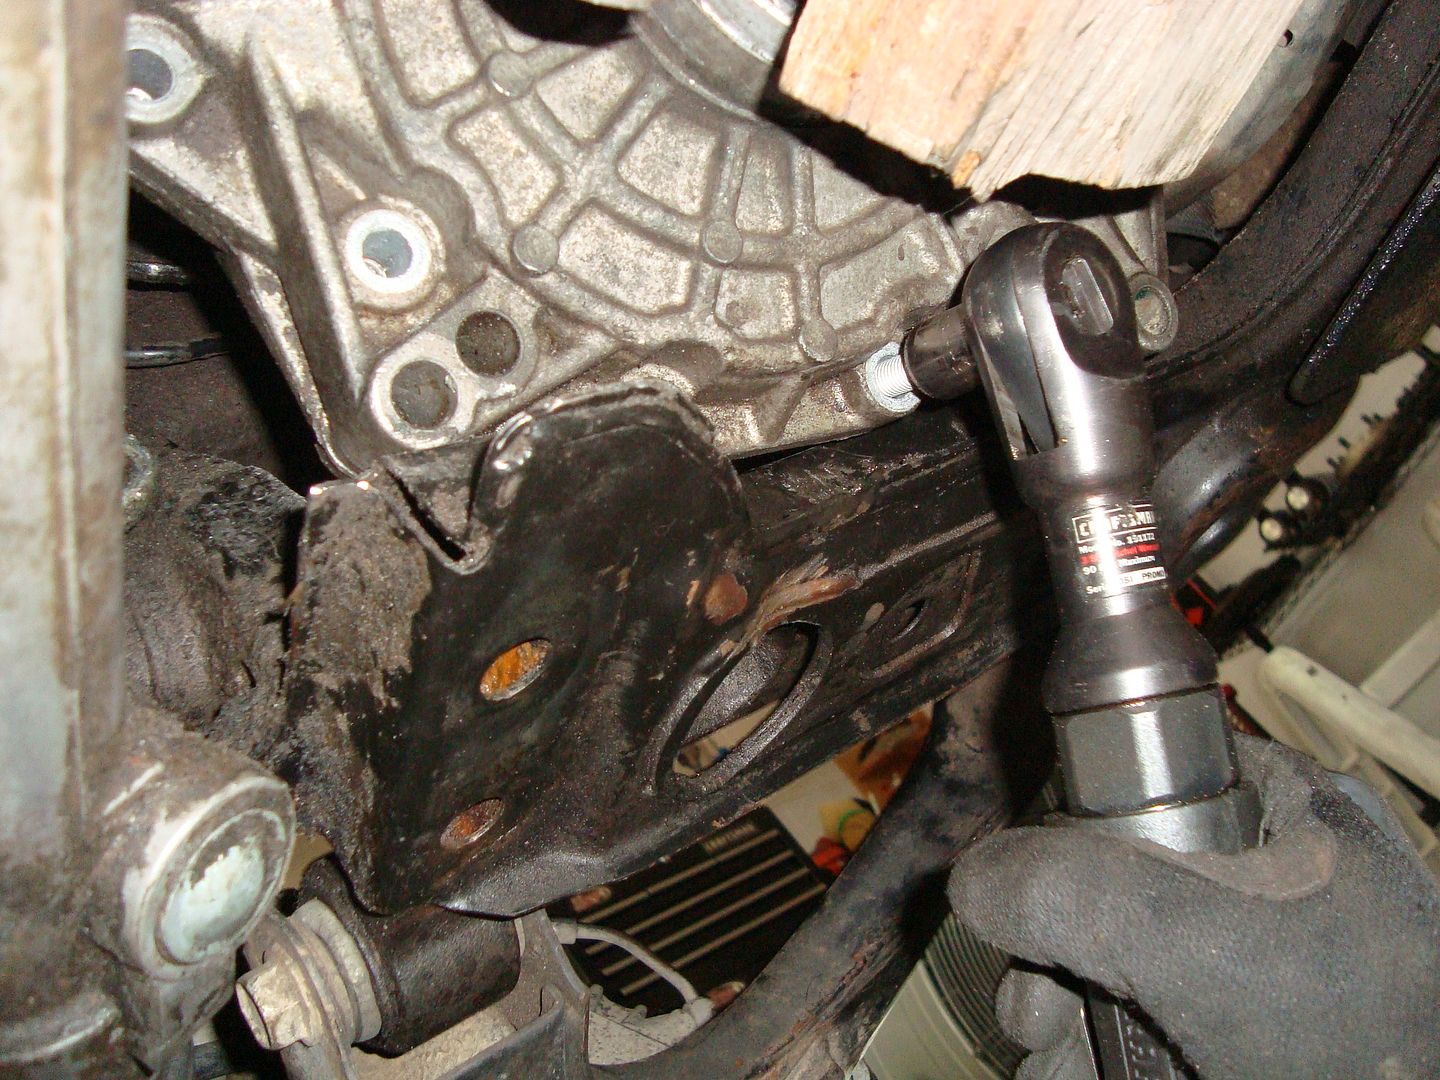
This is the final result.
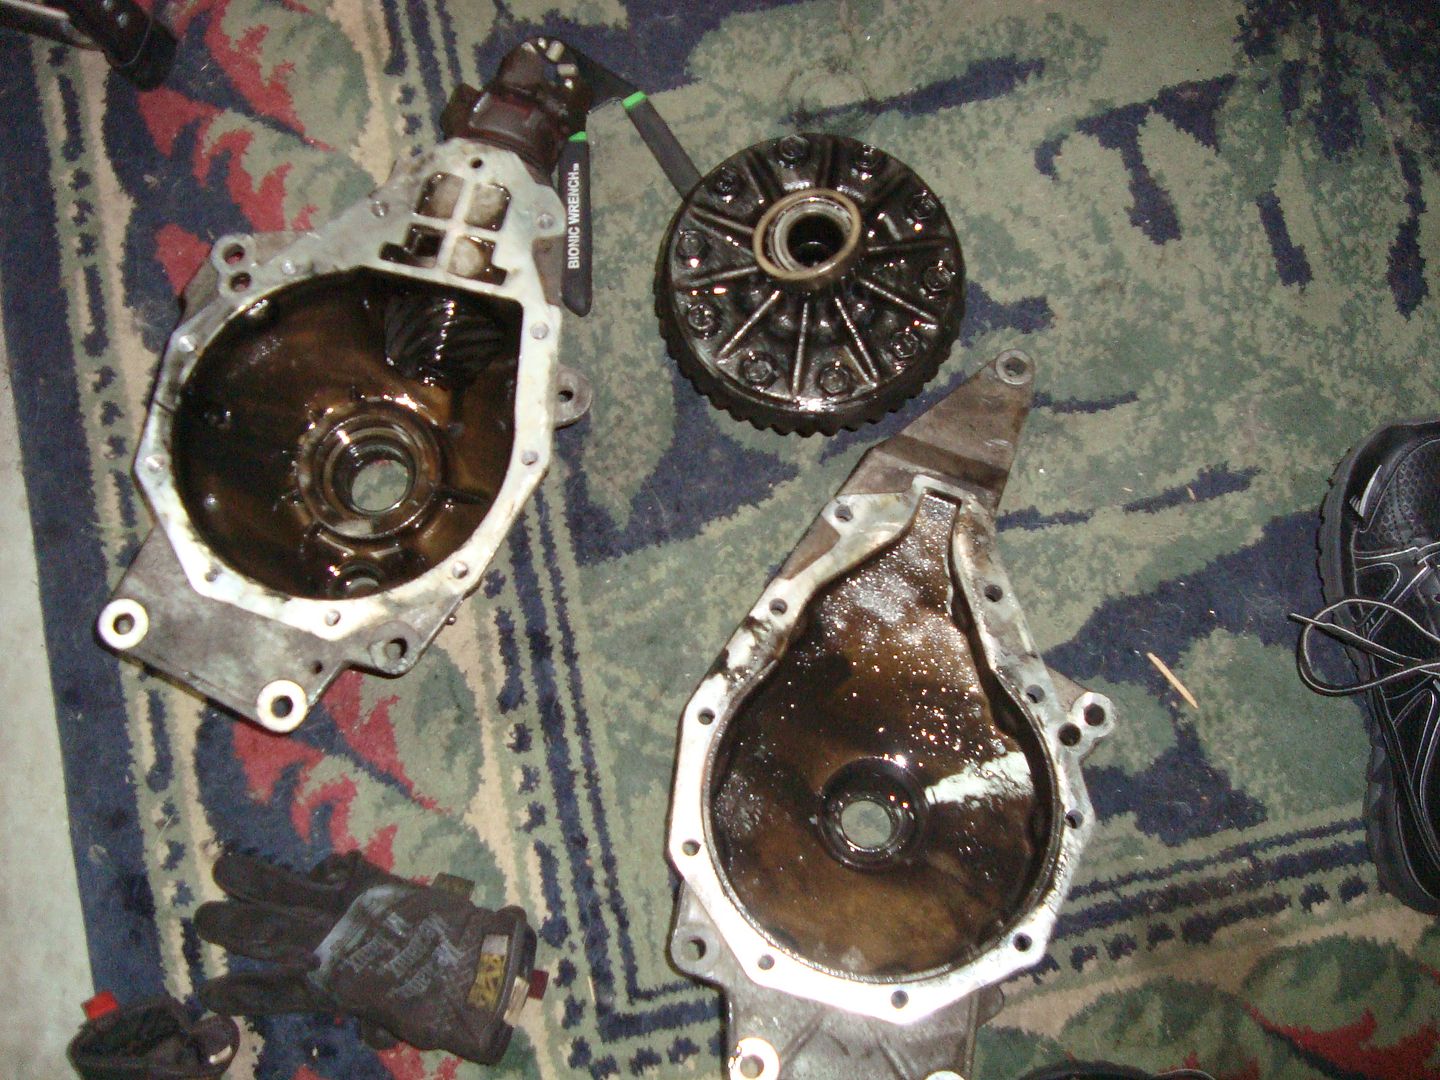
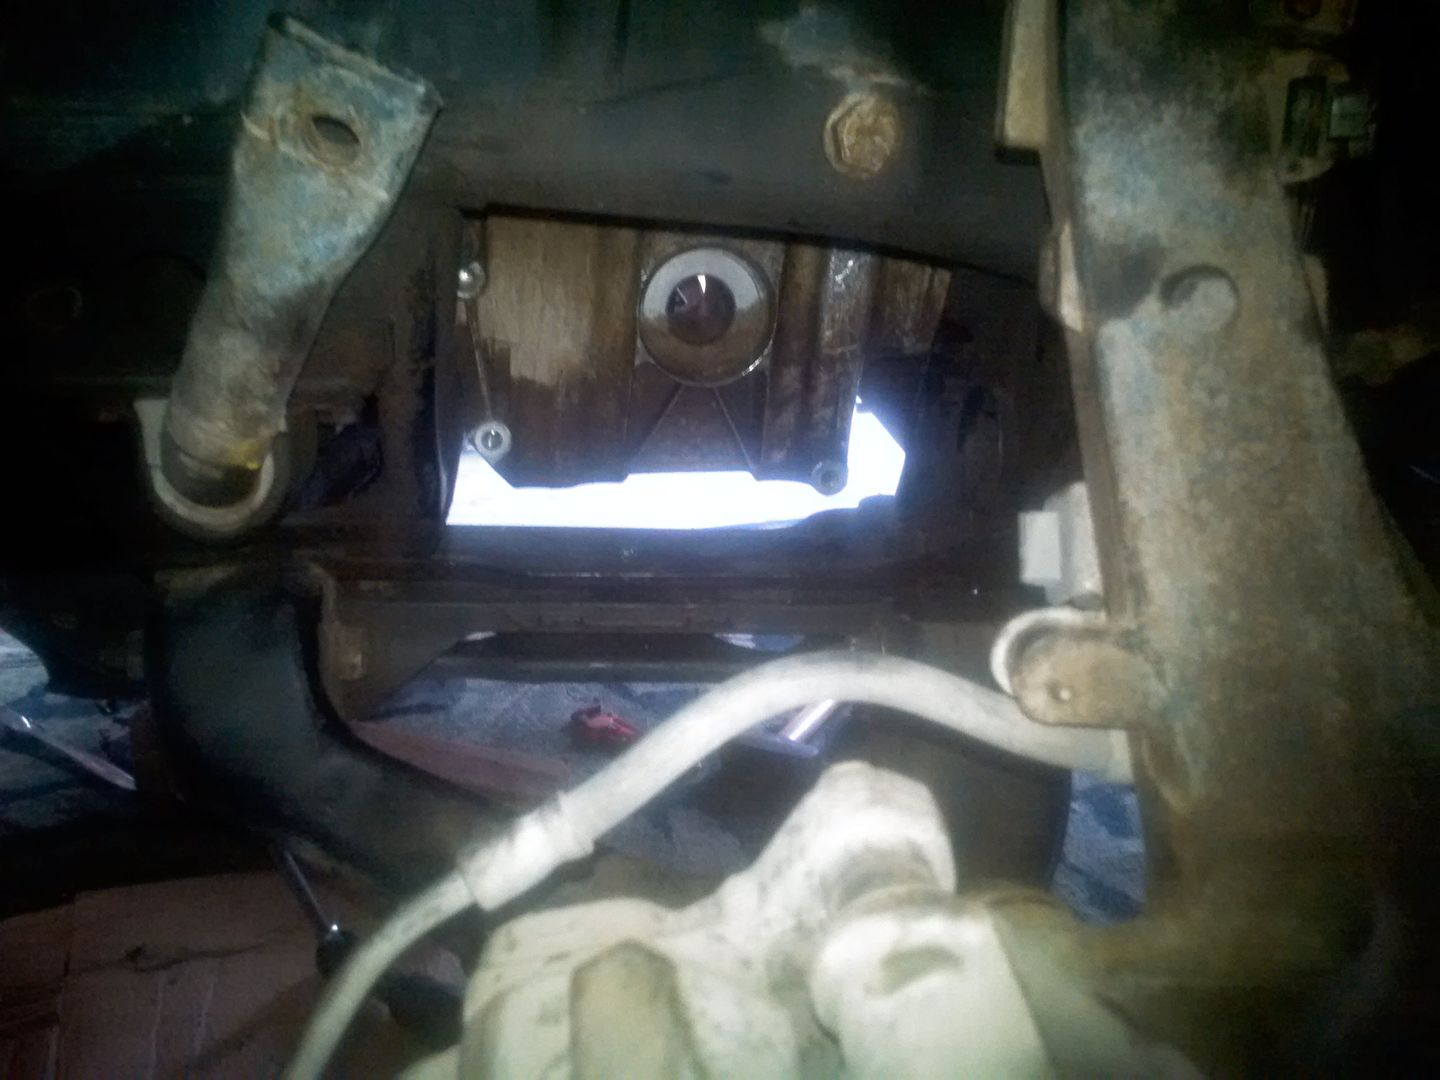
You've earned a cold one at this point. No cracking beers until after the diff is out.
Now I wish I could say, reassembly is just reverse! Which in theory, it is. But the biggest pain in the ass was reassembling the diff in the truck. It sucked hard core. I decided to use this method to avoid dropping the oil pan... but honestly if I have to do it again, I'm dropping the friggin oil pan.
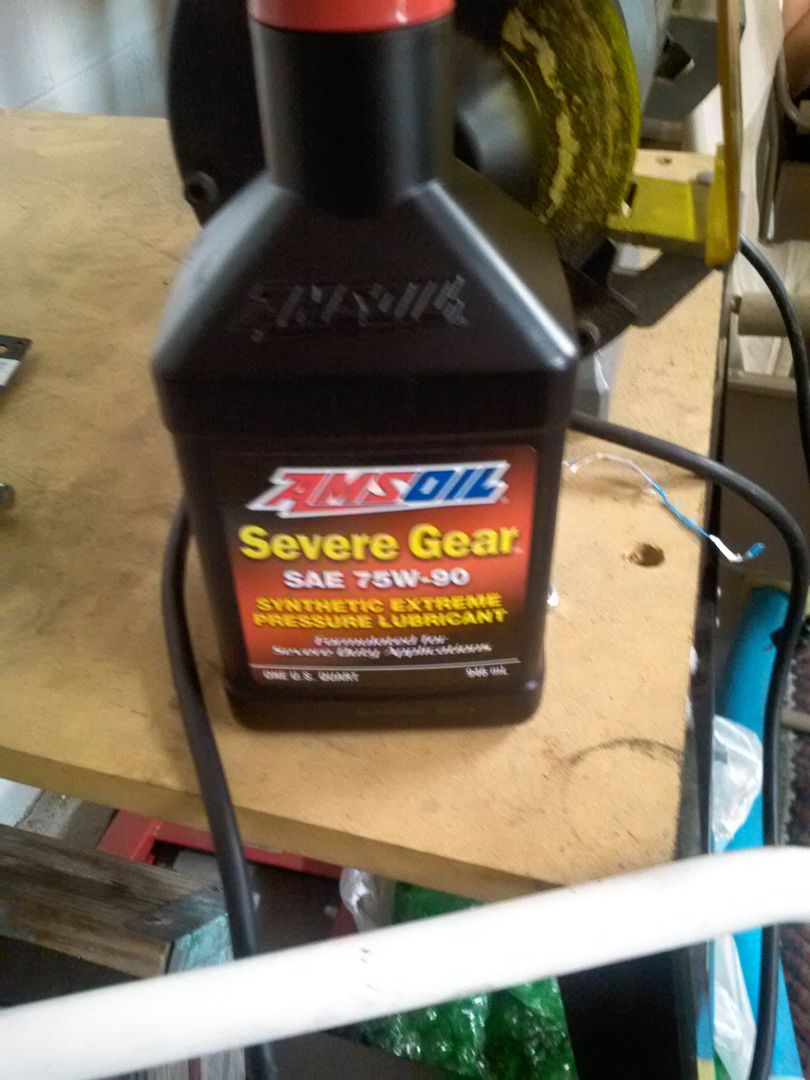
Dont forget to refill your diff with only the highest quality oil

 I would say out the front. Only if there is not a dynamite store close and there isnt another TB to purchase with the gears, lift and accessorys completely done and available.